Shelf Road, Canon City Colorado
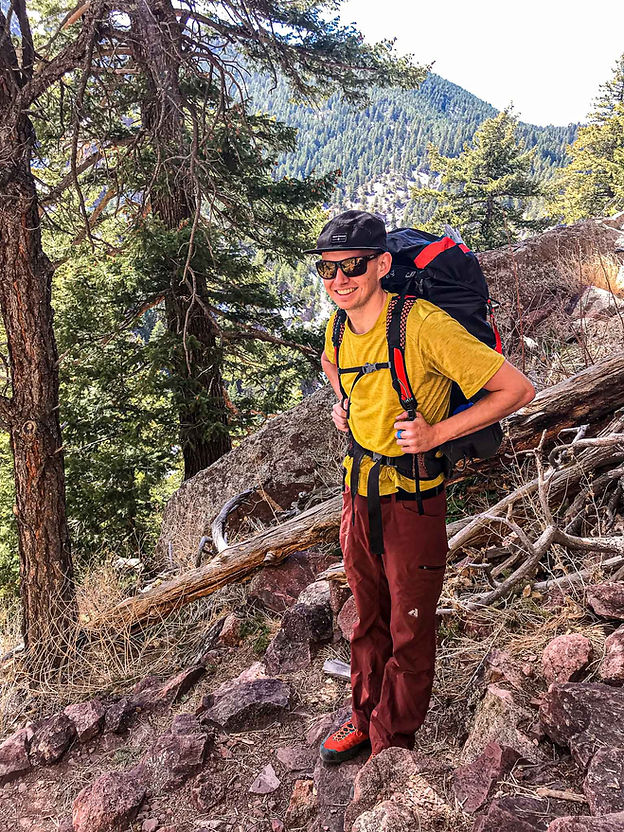
What makes it into your backpack for a day in the mountains can make or break a great day of climbing. We’ve all done it; gotten the alpine start, drove hours to the trailhead, hiked in miles, only to open our packs and find that we left behind that one vital piece of kit. Is that person climbing barefoot on purpose or did they just forget to pack their rock shoes? Ever climbed the First Flatiron in ice boots?
Packing for a day at the crag is a skill, believe it or not. Proper preparation prevents poor performance, as they say. A camping trip to Shelf Road where you forgot to bring your favorite camp chair and a rope tarp? No thank you. So what’s in your bag? We’ll tell you what’s in ours and share our best tips, below:
No matter what you’re bringing along, it’s going to be a pain to carry if you’ve chosen the wrong backpack. Black Diamond and Osprey make some great cragging packs, check out Hyperlite packs if you’ve got some extra cash burning a hole in your wallet – they are some pretty sweet bags. Pick something supportive, like the Osprey Stratos 34, to easily manage a heavy load. If you’re looking for something more minimalistic, the Black Diamond Speed Series is the perfect climbing-specific pack.
Double rack and camera gear – bring out the big bag!
For a single day of climbing, a 35-40L pack will carry a rope, rack, and all the essentials. If your climbing buddy is extra nice, or you have persuaded them to haul your gear in exchange for a cold beverage, a 15-25L day bag will get you by. If you’re running short on space, don’t forget you can secure gear to the outside of your pack as well. Carribeaners, cord, or Vole Ski Straps will help here as well.
If you’re headed out on a vague adventure and are not sure what you might get yourself into, carrying a small, fold-up day pack like the Black Diamond Trail Blitz 12 is a good idea. If you’re going to hop on a multi-pitch route like the Swanson Arete and want to bring shoes and snacks along, deploy the mini-pack out of your big pack!
You can make a day of climbing happen in absence of almost every piece of kit, but it would be much more enjoyable if you had a harness, helmet, and rock shoes. If you have them, wear approach shoes out the door when you leave to go climbing. This way, at least you will have some sticky rubber with you, and, a great excuse to make your partner lead all of the pitches!

You will find that our guides climb in a wide variety of personal climbing gear because these items all come down to personal preference. If you can, head to a climbing shop like Bent Gate Mountaineering with lots of inventory. Take some time to try things on, chat with the knowledgeable staff, and choose what’s most comfortable.
If you’re used to climbing in the gym, you’re probably used to, and fairly comfortable in your undersized climbing shoes. Outdoors, you will have your shoes on for much longer than indoors, and will not be afforded the luxury of removing them at times. So, choose something closer to your shoe size for outdoor climbing. Sure, a tighter shoe is going to perform better. But if your feet and toes are so worked from being in them all day, the fatigue will eliminate any benefit the tight shoes could provide. Experiment to learn what works and what doesn’t, it’s a process that will take some time. But whatever you do, don’t forget to bring these big three to the crag!
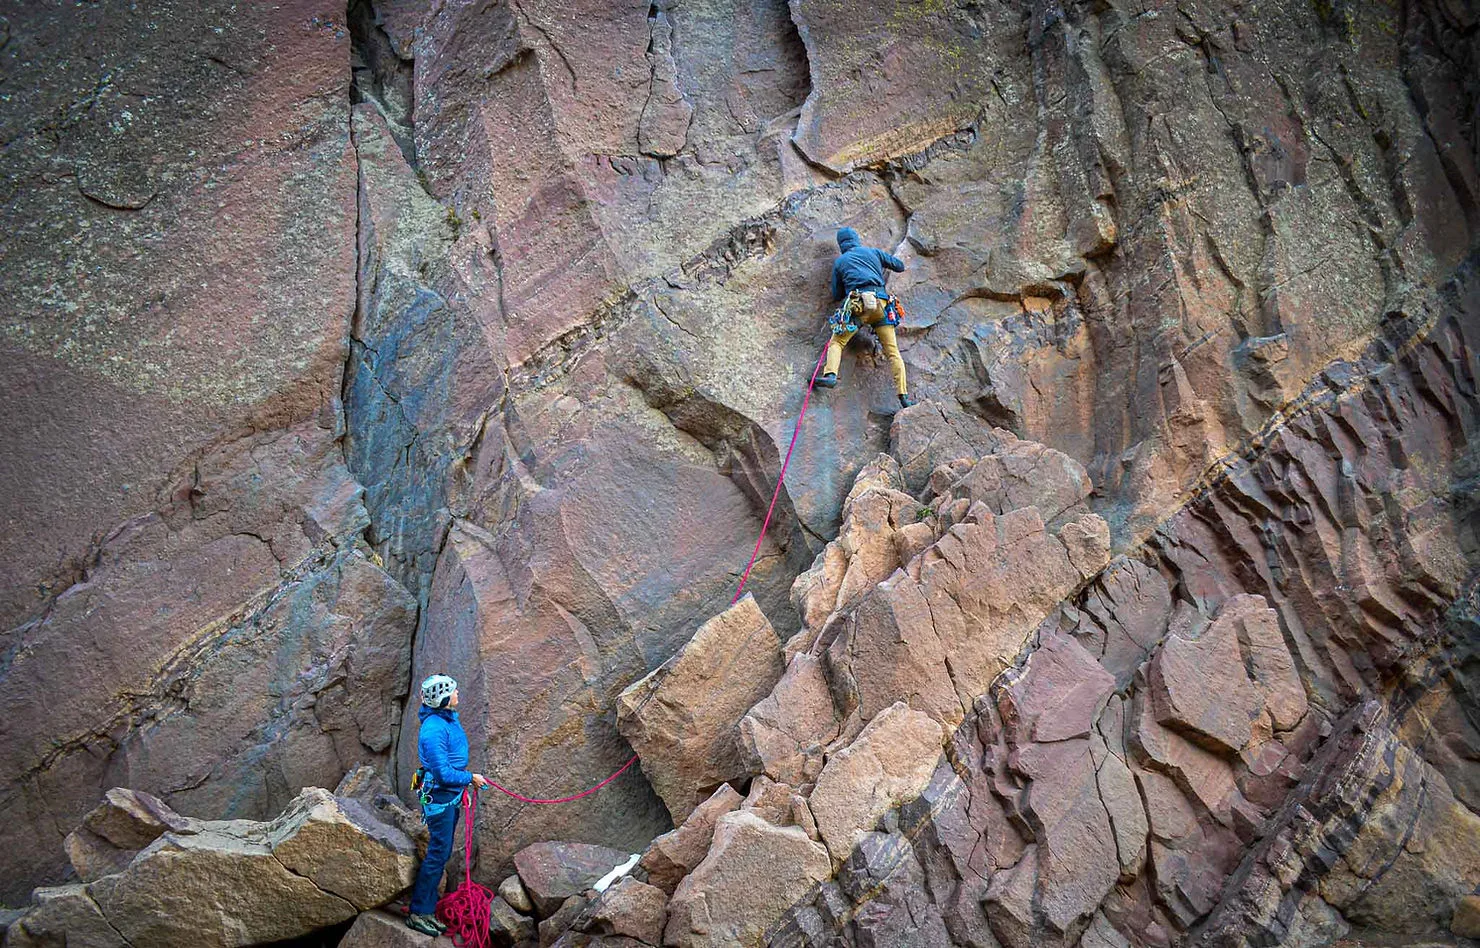
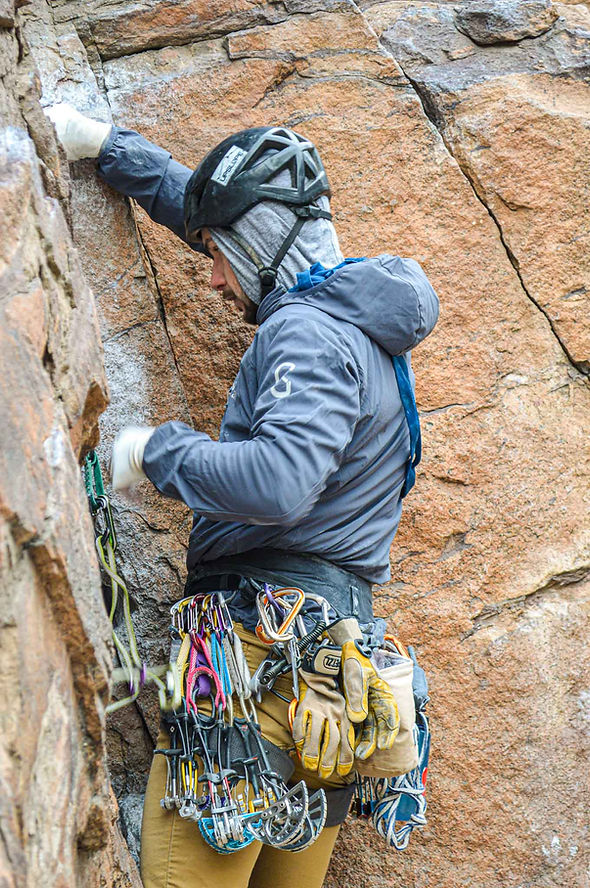
Oh yeah, it’s jingly, it sparkles, and it keeps us safe – rock protection. You’ll need to take the “Rack,” whatever you’re going to use to protect the climb, an adequate length of rope, anchor material, and your personal kit for tethering, belaying, and self-rescue. Many items can serve multiple purposes, and learning many ways to use a single piece of gear can not only get you out of a pickle but help you travel lighter. Being fast and light means nothing if you can’t be safe as well, so don’t drastically cut down on any kit you’re not prepared to climb without.
If you’re going sport climbing, bring 12 quickdraws, 2 60cm alpine draws, and your choice of anchor material. Depending on the climbing area, you could simply bring a “Locker Draw,” a dogbone with 2 locking carabiners as supposed to standard, non-locking ones. Otherwise, bring a 120cm sling and 4 locking biners for more standard anchor configurations. If you’re planning to toprope a traversing route for a longer period of time, try a 240cm quadruple length sling or 21-23ft. of cord to create a “quad” anchor.
Dan’s Trad Rack
If you’re going trad climbing, research the route you’re planning to do ahead of time and calculate what type of gear to bring. Headed to Indian Creek with a triple rack of stoppers and a few tri-cams? Probably not the best idea. Focus on learning your gear, and bring the right rack for the rock you’re climbing today. You won’t need any sport draws, just some alpine draws or 60cm slings. For anchor material, fewer lockers are needed because we are “observing” our anchor. 240cm Dyneema slings make awesome anchor “tat” for keeping it simple and light, but an equivalent length of cord works well too. It’s sometimes good to have both in case you spot a sweet natural feature to thread and want to use 5-7mm cord instead of Dyneema, since it can be un-tied out of a closed-loop.
“Personal kit” includes what you will use to belay and what you will use to tether into anchors, but could also include a self-rescue kit or the ever-handy nut tool. This might include 3-4 locking biners, 1 tubular belay device and/or an assisted braking device, a hollow block loop or cord, a double-length sling or another personal anchor, and that nut tool. Whatever you decide to bring, choose what works best for you and whatever you are most confident with.
With increasing traffic at the crag, we are very, unfortunately, going to see more accidents happen. Having an adequate medical kit on hand could really make someone’s bad day, not so bad after all. One common failure of people carrying medical kits is that they don’t know what’s inside them. And even if they do, they might not know how to properly use them. If you are interested, check out a wilderness first aid class or other educational resources to get some training behind your gear. You can start with a pre-made medical kit, and add or subtract supplies based on your scope of practice, and what you actually understand how to use. That way, you can act quickly when needed, and don’t have to carry around anything extra that you don’t need. Another good piece of emergency kit to keep with you is a compact BIVY bag. It can keep you warm if you have to spend an unplanned night at the crag, prevent an injured party from going into shock, and form the base to craft an evacuation litter.
In many major backcountry accidents, the outcome could have been changed if those involved had a way to communicate with the outside world. If you’re in the range of a cell tower, this is as simple as a phone. But outside of normal service, a satellite phone like the Garmin Inreach could save a life. Traumatic injuries can be stabilized well in the backcountry, but swift evacuation when required provides the best outlook for recovery. That’s why having the right communication device is a key piece of kit to toss in your bag, and you’ll find all of our guides carrying an InReach when out in the mountains.
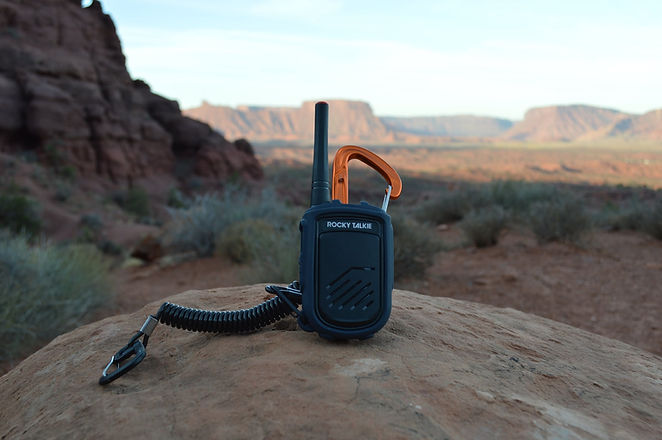
THE Rocky Talkie
Rocky Talkies are awesome two-way communication devices to keep on you as well. Especially in windy areas like Eldorado Canyon, we’ve found these to be super helpful. If you were in an emergency scenario, these could be used to try to alert someone on the 22 pre-programmed FRS (Family Radio Service) channels. Headed to a remote crag without cell service and your buddies don’t know where to find you? Leave one at your car, and take the other with you. When they get there, they can flag you on the radio you’ve left behind for them.
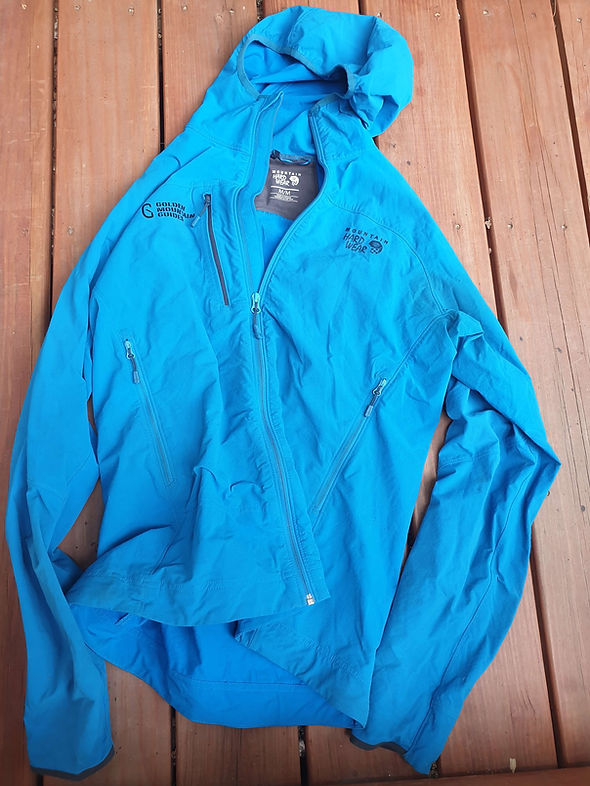
This one should be pretty self-explanatory. Look at the weather forecast ahead of time and pack what you’ll need to keep warm and dry for the day. During winter, you can’t go wrong with a big belay parka! Don’t forget a hat and gloves as well.
Colorado’s Front Range has some volatile weather, so carry a wind or rain jacket during the summer months. You never know when something might roll in quickly, even if it’s not in the forecast. It’s always good to carry an extra puffy jacket as well to keep you comfy on a shaded belay ledge. A jacket can also be used to make an improvised cervical collar in a rescue scenario, and keep someone from going into shock, even when it’s warm out!
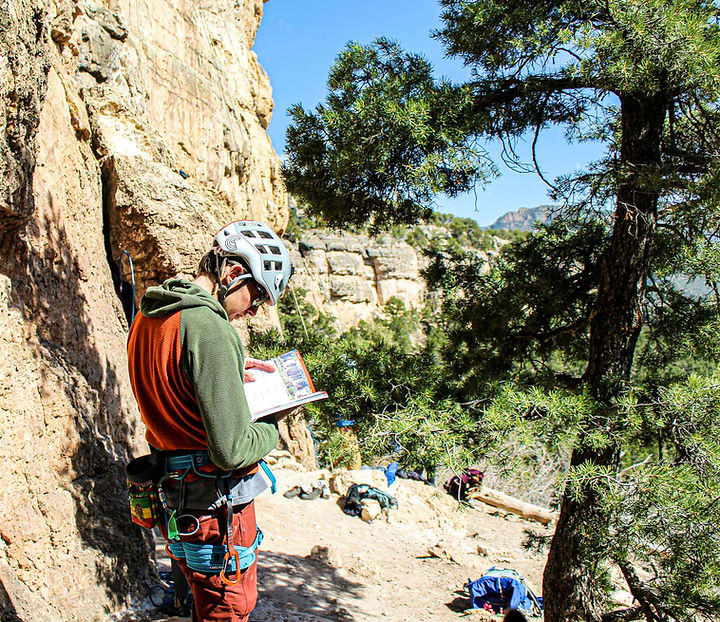
Don’t forget your guidebook!
Not every climbing outing has to be super intense, sometimes it’s just about getting out there and enjoying the outdoors. One of our favorite pieces of luxury gear to bring is a camp chair, like a Big Agnes backpacking chair. Don’t forget to bring the local guidebook for your area, as these publications usually contain easy-to-view route pictures or topos. Especially in bright light where it’s challenging to view a phone screen, you can’t beat a paper book.


Content Copyright © 2026 of Golden Mountain Guides. All rights reserved. | Privacy Policy | Site Map