Rock climbing self rescue – the skills all climbers should know
Rock climbing self rescue…the one skill set all climbers hope they never have to use. But we all know that things go awry every now and then. So what do we do when our climbing partner pulls off a loose block injuring themselves and we decided to belay off our harness?
Before we jump into the nitty gritty of rock self rescue, let’s back up. First and foremost, any steps that can be taken to avoid having to escape a belay should be taken. Prevention is the best way to avoid a self rescue scenario.
But…in case the situation arises, we have to be prepared. Hiring a professional can be a great way to get your rescue skills up to par. Let’s look at:
In it’s simplest form, escaping a belay is removing your body from the belay system and transferring the belay onto a stationary anchor. The goal is to remove ourselves from the system so we can provide further assistance to our climbing partner.
This is an imperative skill if you need to descend to your partner and provide first aid (assuming you chose to belay off your harness) or to run back to car and grab the extra climbing rope because we misjudged the length of this cool new single pitch sport route.
Escaping a belay builds upon the fundamental skills of rock climbing self rescue. It relies on the munter mule overhand, a friction hitch, and clean anchor management.
The basic theory of climbing self rescue is pretty simple: transfer a load back and forth using gravity to our advantage. But how do we do it?
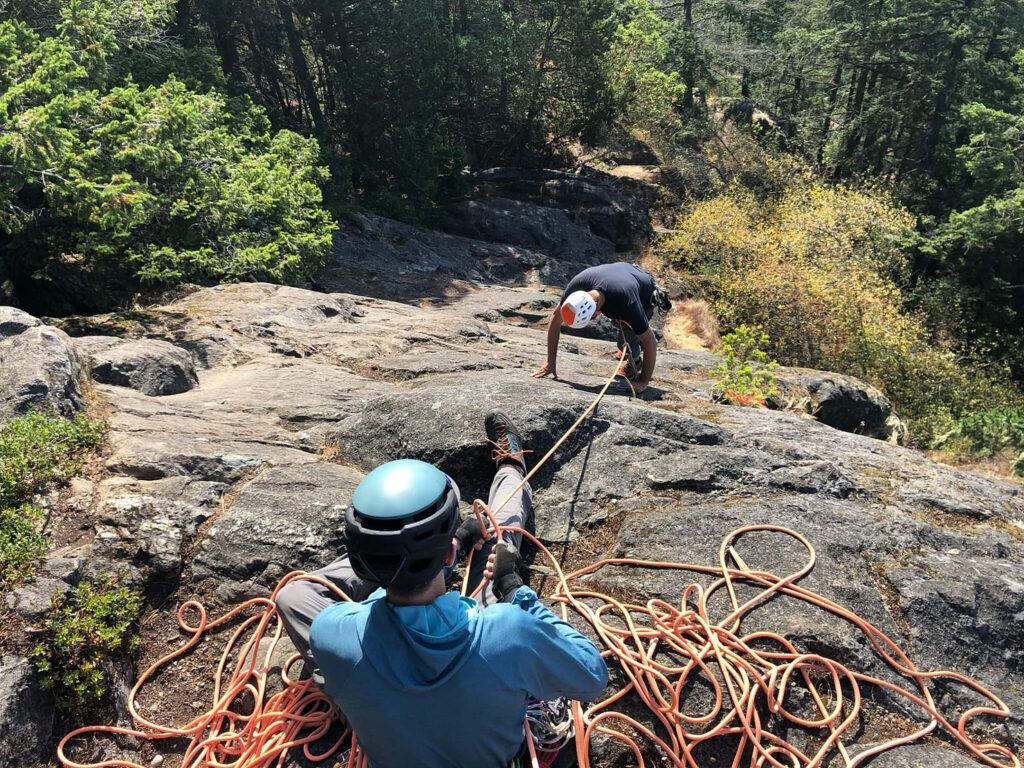
The techniques shown here work for both top down rescue scenarios as well as single pitch cragging scenarios. Remember, this is just one way of accomplishing this task.
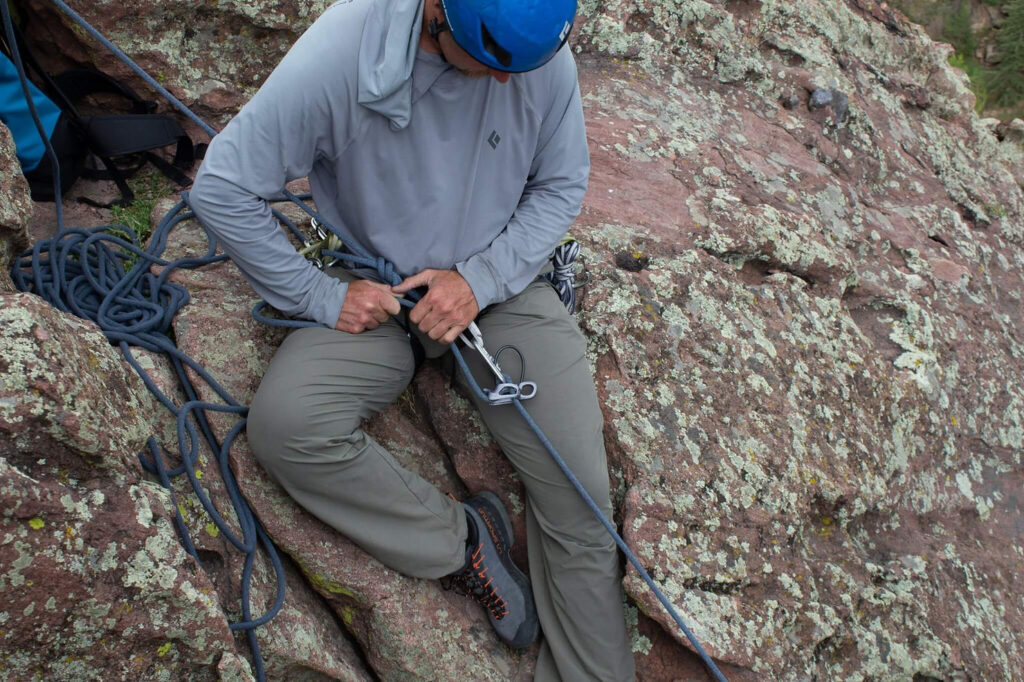
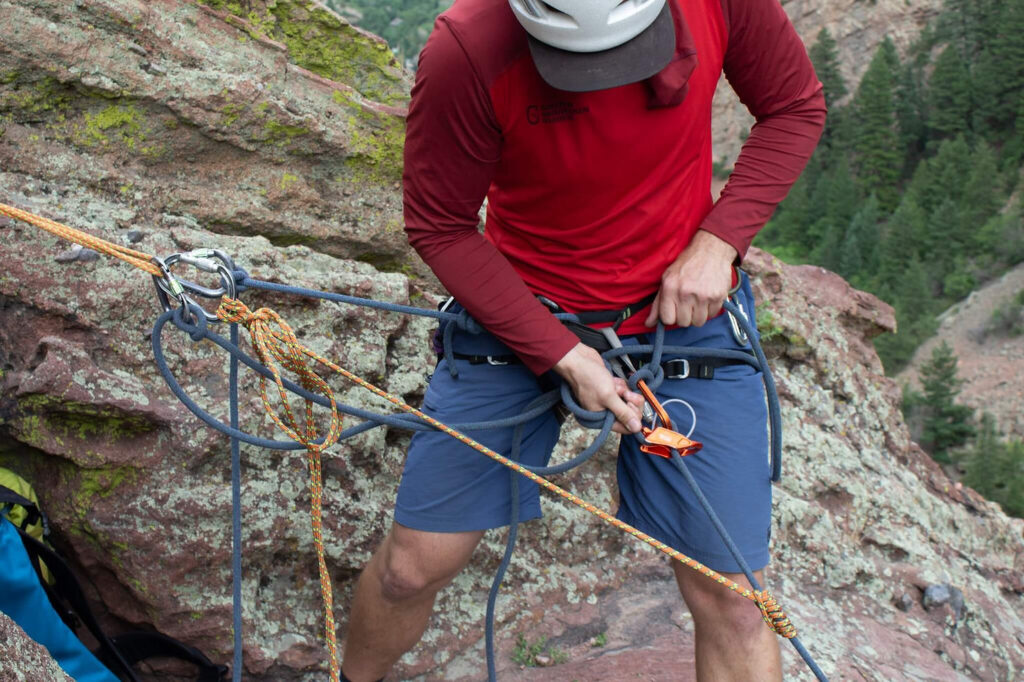
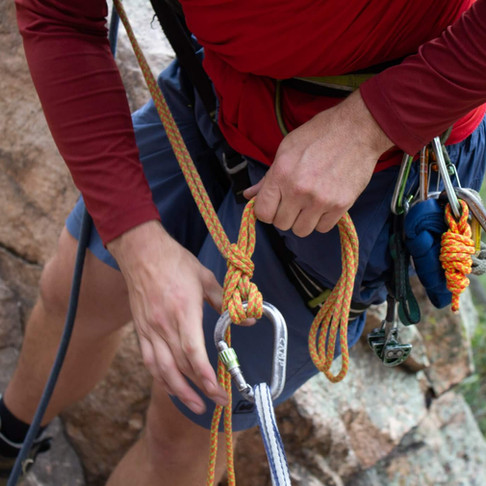
Step 1: Go Hands Free
Start by passing a bight of rope through the locking carabiner being used in conjunction with your belay device. Tie a mule knot around the locking carabiner and back it up with an overhand on a bight on top of the belay device. Need a refresher on the munter mule overhand combo? See more here.
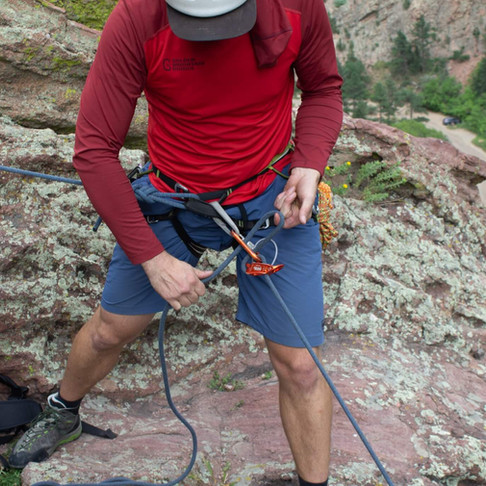
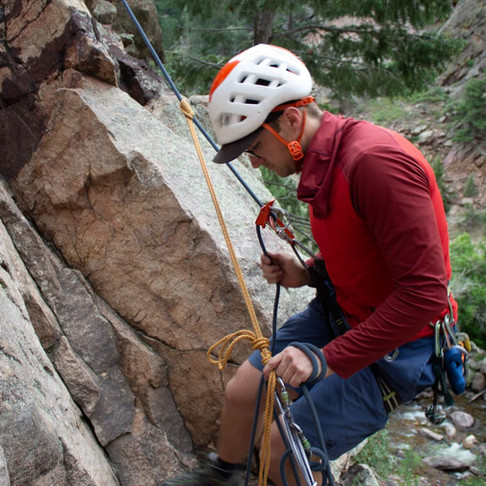
Step 2: Beef up your anchor
If you’ve chosen to belay off your body, there’s a pretty good chance that the anchor you as the belayer are connected too is only one or two pieces. Now that you’re hands free, it’s a really good time to add an extra piece to the anchor. Grab those extra cams and go to work placing trad gear!
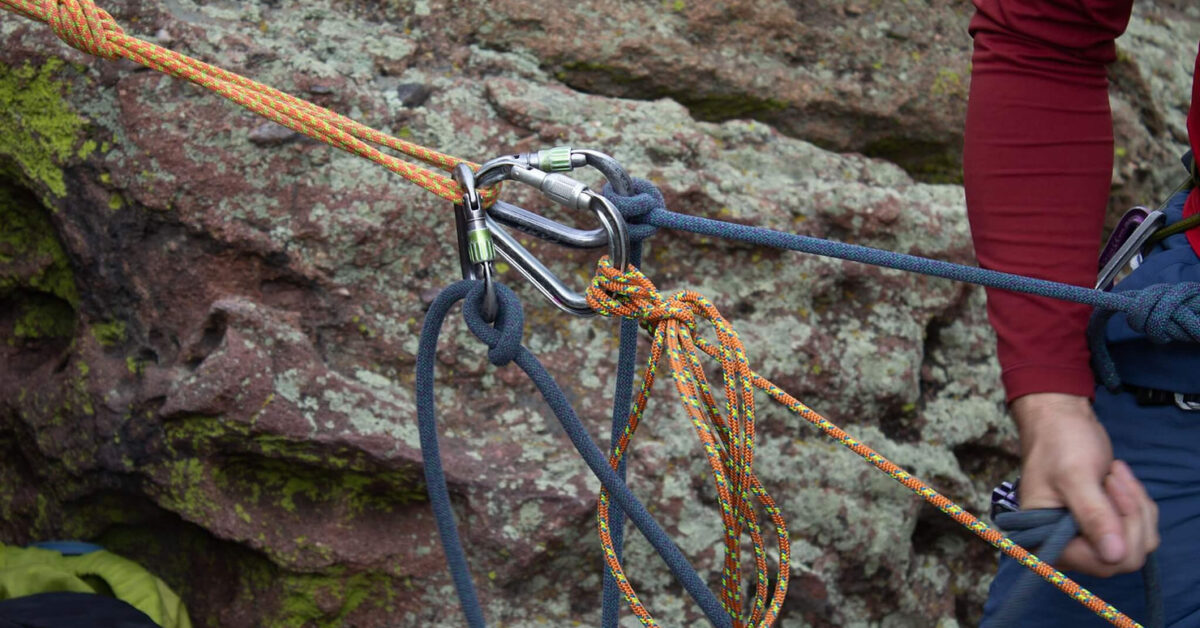
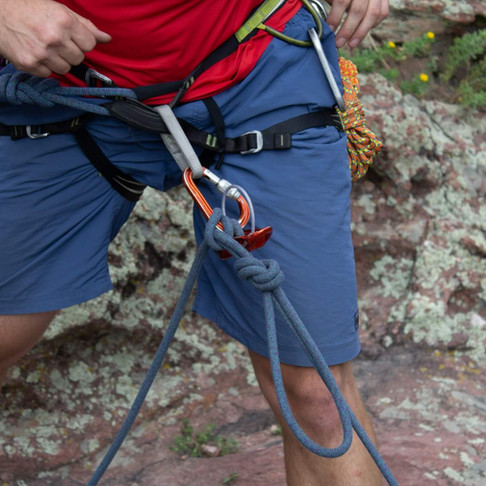
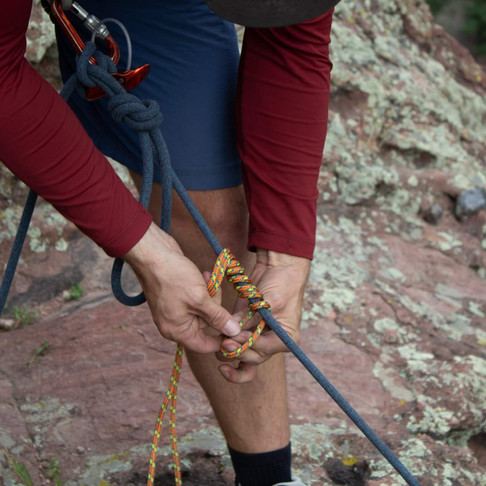
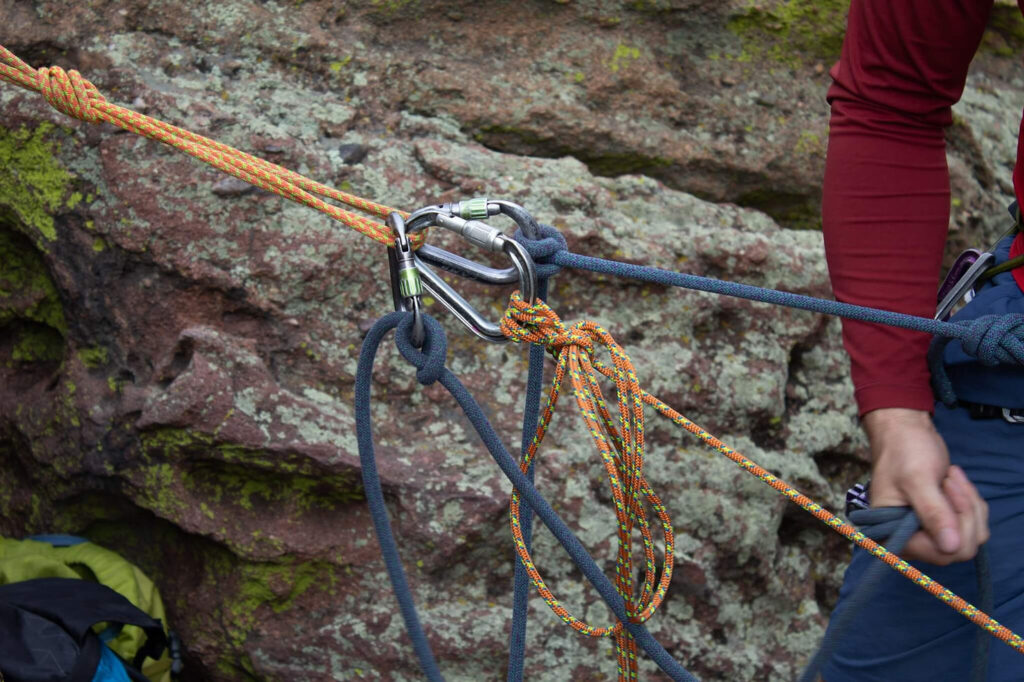
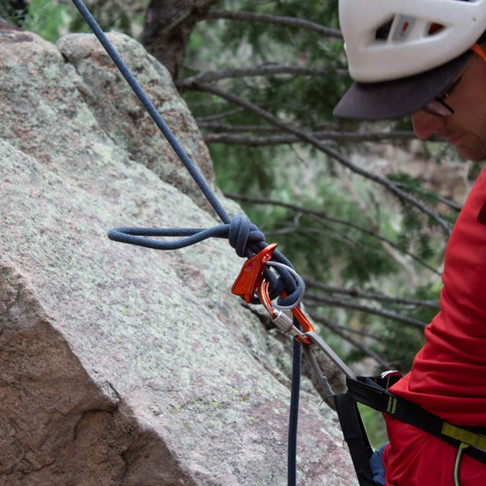
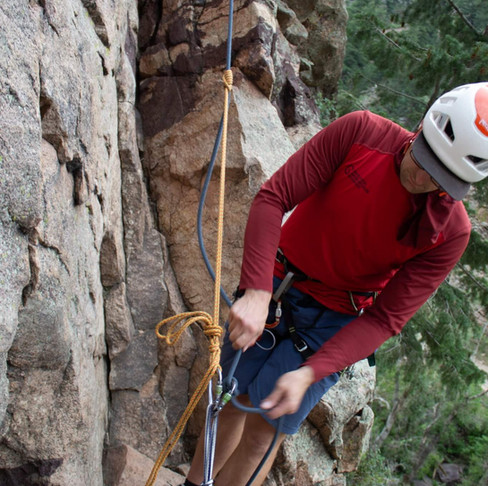
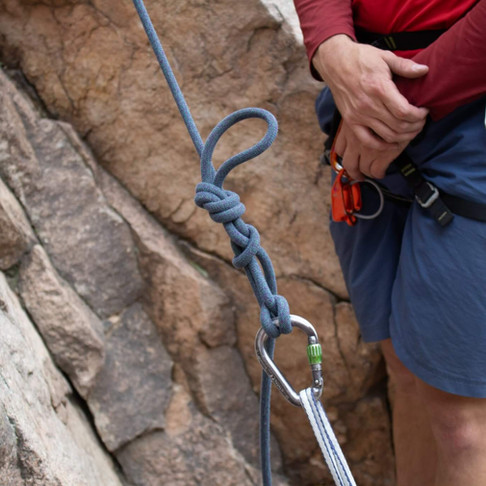
Steps 3 & 4: Use your cordellette to attach the anchor to the load strand
Tie a kleimheist with your cordellette around the load strand of the climbing rope. This is best accomplished using the cord folded in half. Connect this to the anchor using a munter mule overhand clipped to a locking carabiner.
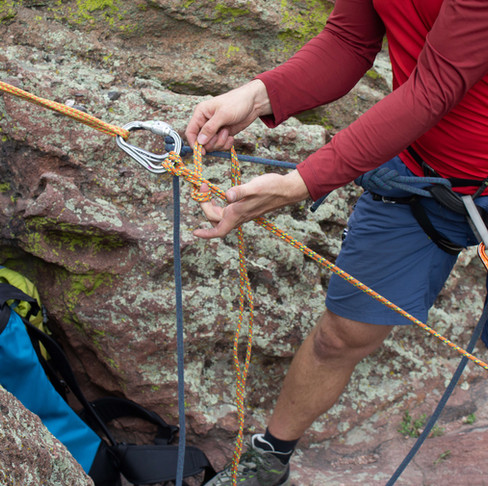
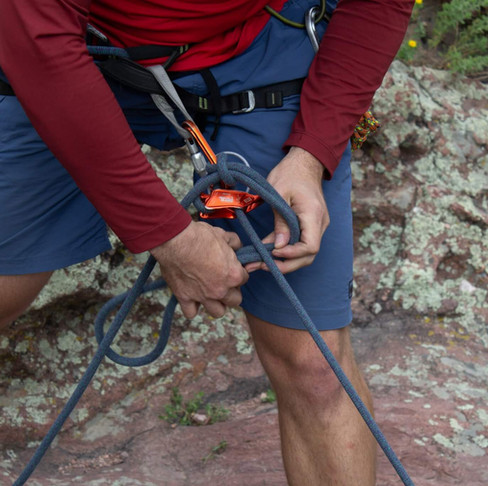
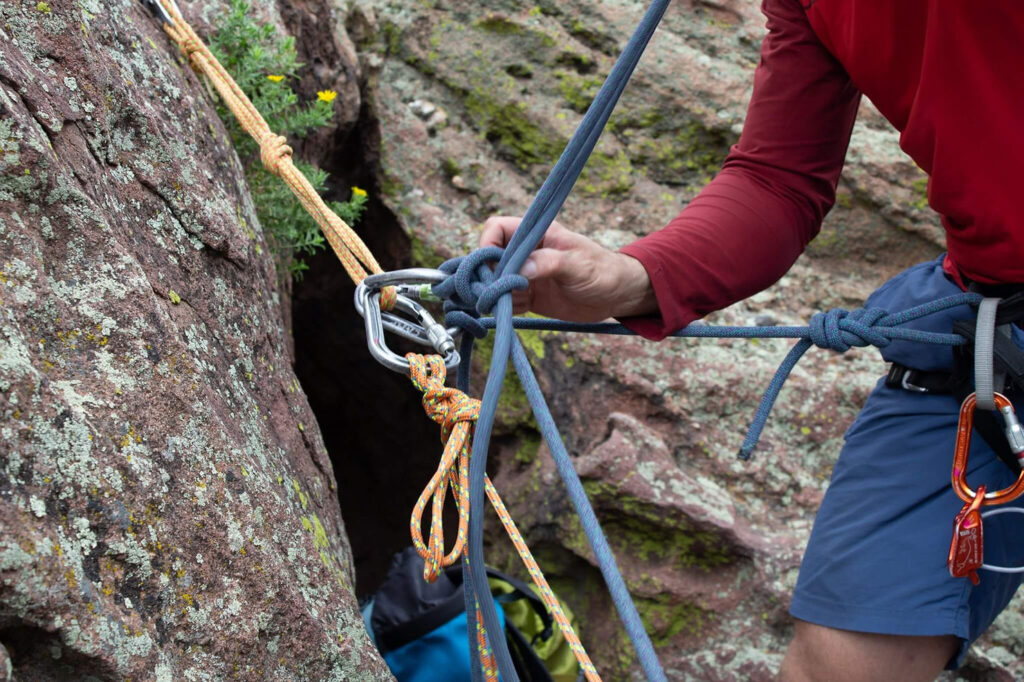
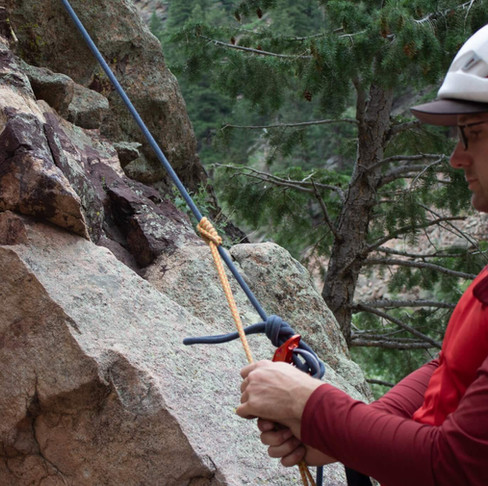
Step 5: Introduce a new belay device into the system
Find the brake strand of the climbing rope and tie a munter hitch behind your belay device. Connect this to the anchor with a locking carabiner. You can either continue with the mule and overhand or add three wraps of rope around your hand to maintain control of the new brake strand.
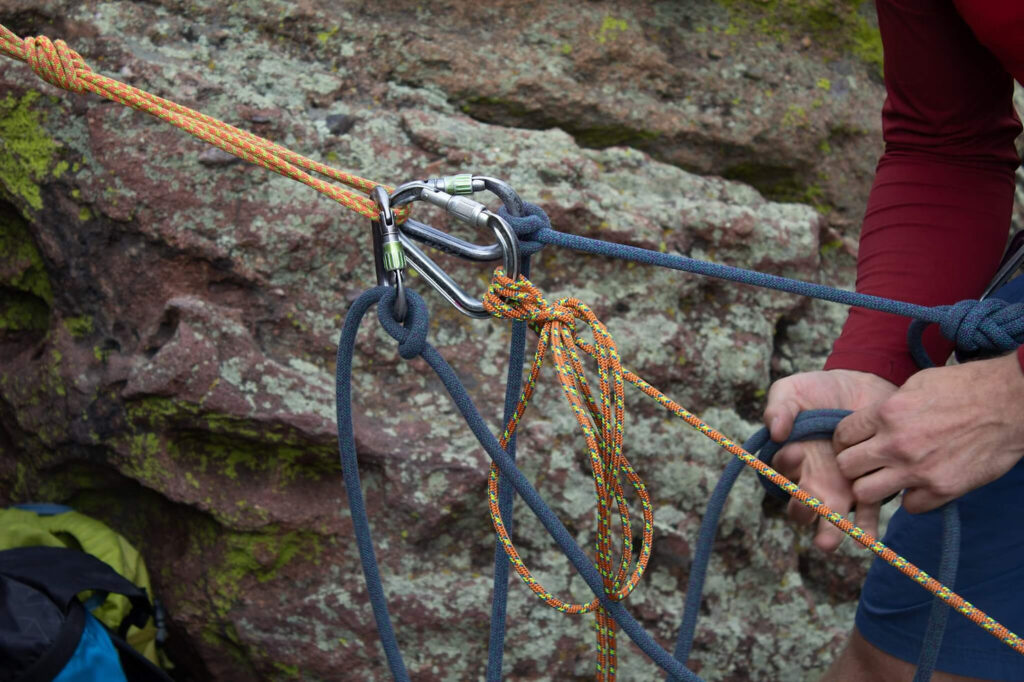
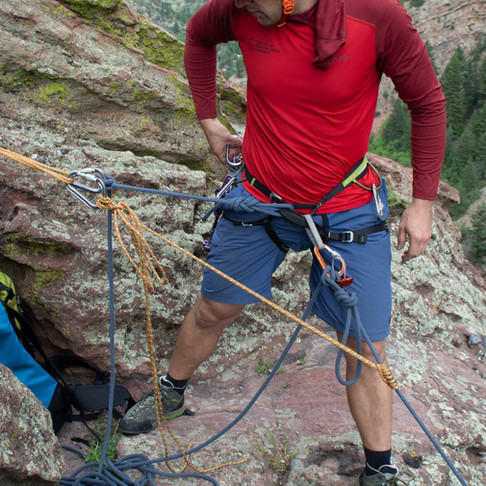
Step 6: Untie the hands free device and begin to transfer the load
As you begin this step, make sure that you are maintaining control of the new brake strand if you’ve chosen the hand wrap method. Begin to untie the overhand on a bight and mule that are holding the brake strand of the belay device. Lower the fallen climber onto the cordellette so you can remove your belay device from the scenario.
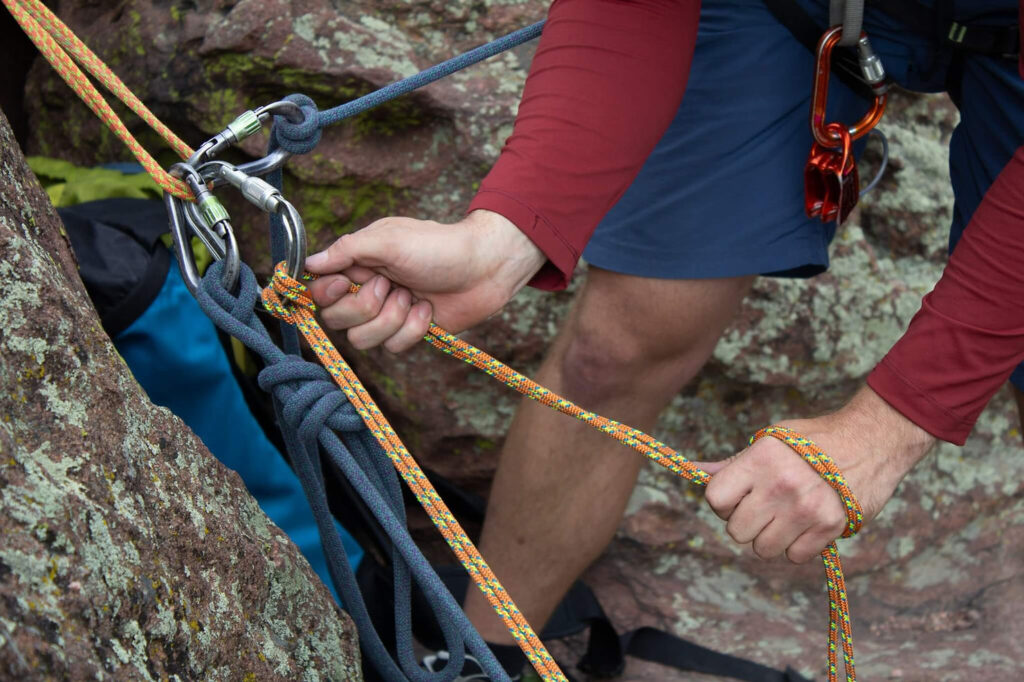
Step 7: Pull in the slack on the new belay device
Once you’ve got your belay device out of the system, pull in all the extra slack until the new munter is snug on the kleimheist on the cordellette. Be sure to flip this munter into the lowering orientation. Check out our blog post on the munter. Mule this off and add the overhand backup.
Steps 8 & 9: Transfer the load…again!
Untie the munter mule overhand in the cordellette and begin to lower back onto the climbing rope. Once you’ve successfully lowered onto the climbing rope, you’re done and can either haul or descend after cleaning up your cordellette and anything clipped to the anchor.
Let’s face it…preventing a self rescue scenario is way easier than actually performing a belay escape.
Some easy tips to prevent rescue situations are:
Even if you take every precaution, there is still the chance that a rescue may need to happen. If it does, we better be prepared.
You may be asking yourself at this point why we would ever want to belay off our harness if it can potentially create such a headache. Even though we strive to use the anchor to belay from, the reality is that the mountains are dynamic and not all climbing terrain is the same.
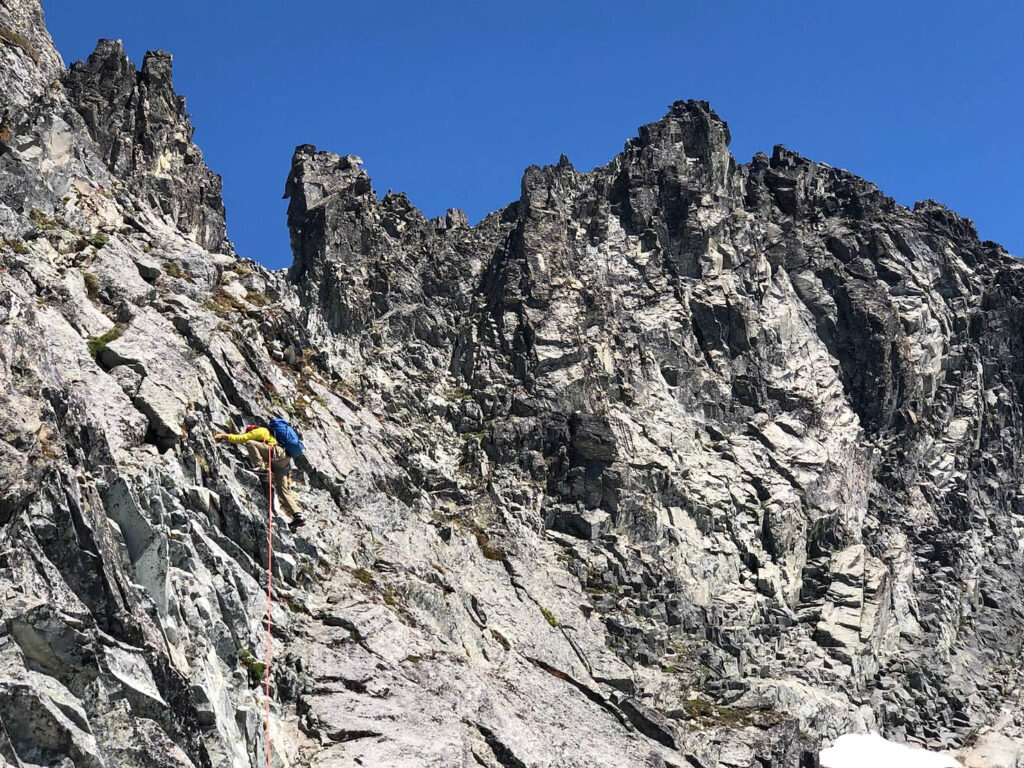
So what does this mean? Simply put, your body can be an excellent anchor. Many times we choose to belay off our harness when climbing in the alpine. Speed is safety and often we find ourselves navigating stretches of less than perfect rock.
Some compelling reasons to belay off our harness are:
This method of escaping a belay is more applicable to cragging scenarios where you cannot lower your partner to the ground. Maybe it’s 110 feet to the chains and you only have a 60m rope. See the issue?
Escaping a belay from the base is no different in terms of technical skills from a top down scenario. The big consideration is finding a solid anchor at the base of the cliff to transfer the load to.
As with all climbing, it is super important to get out and practice these self rescue skills. Learning from a professional guide can be a great way to get personalized feedback and some other “hacks” in this entire process.


Content Copyright © 2026 of Golden Mountain Guides. All rights reserved. | Privacy Policy | Site Map