Building climbing anchors is like painting a masterpiece. A splash of creativity here, a dash of technical skill there, and a bunch of creative and critical thinking mixed into it all. There is no such thing as a one size fits all anchor. Every route we climb is going to require a slightly different twist on the skills we already have dialed in. With more and more people venturing from the climbing gym to the outdoors, it’s more important now than ever to really understand technical climbing skills (especially anchors) and how to critically think about the technique or tool we have chosen to use in any given situation.
In this blog post, I’ll dig a little deeper into three different types of sport climbing anchors and their uses, as well as the pros and cons of each one. Looking for more out of the box anchors? Join us for an Anchors Class or Introduction to Trad Climbing Course.
Or…
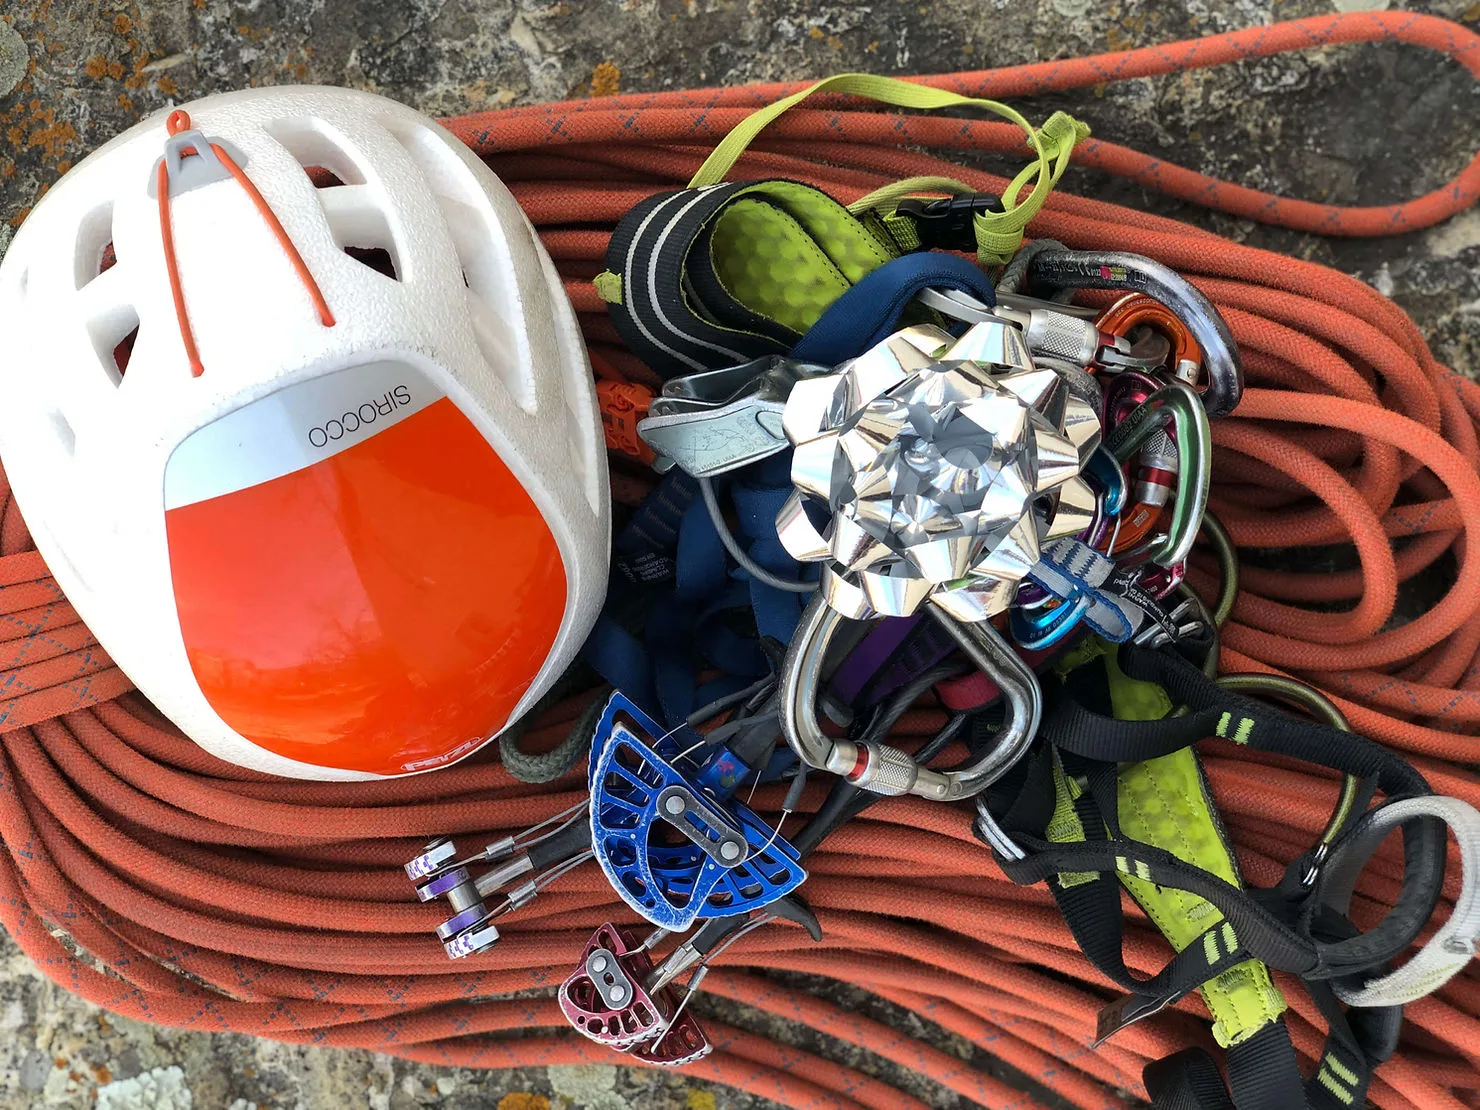
Keep scrolling for your chance to download our FREE infographic on climbing anchors!
Not a bolted anchor, but still cool!
A Quick Refresher on Climbing Anchors
Simply put, anchors are what keep climbers attached to the wall. As a good rule, they have to be unquestionably strong given the terrain you’re climbing. Generally speaking, anchors are comprised of components, which make up legs, that all come together in what is called the master point or power point.
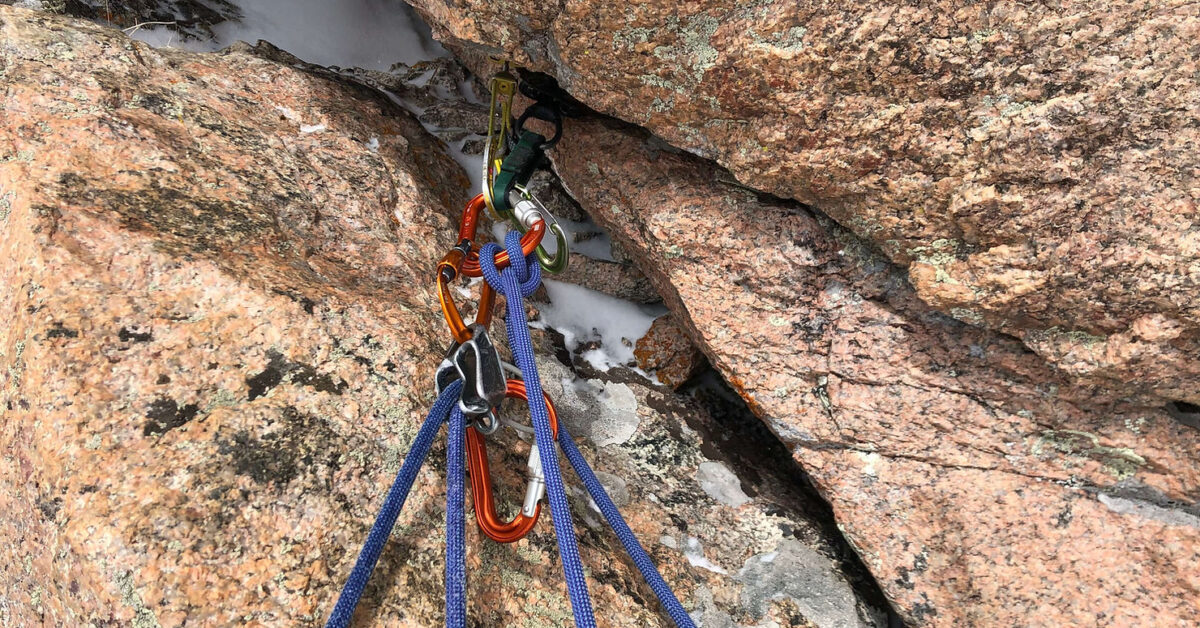
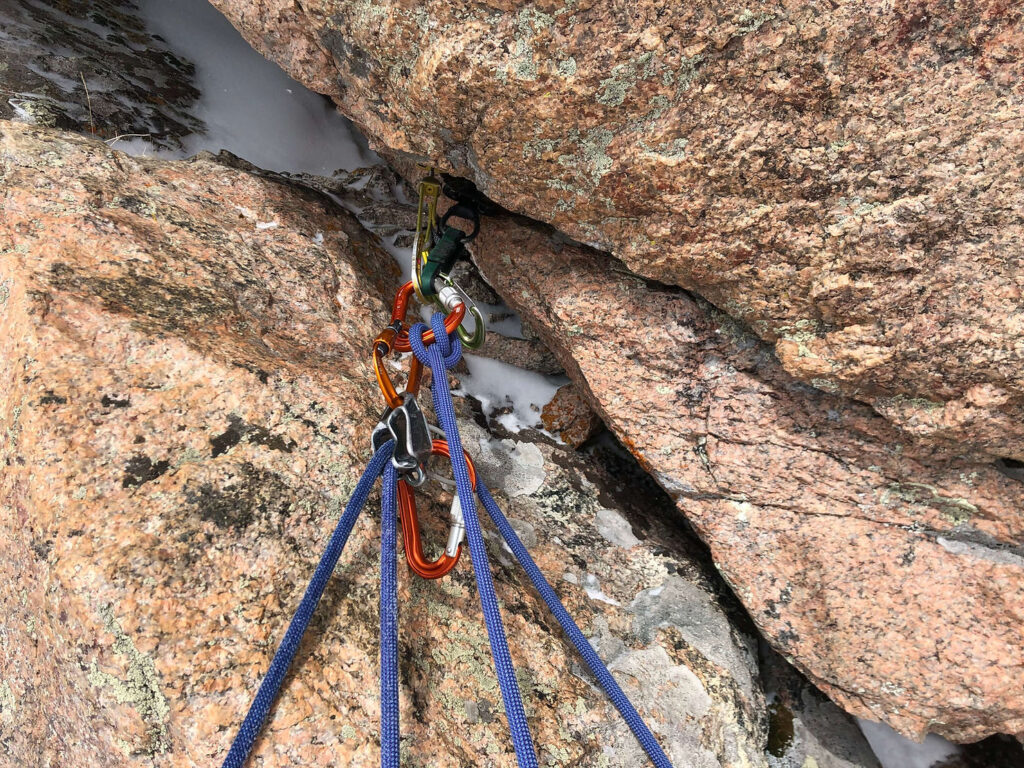
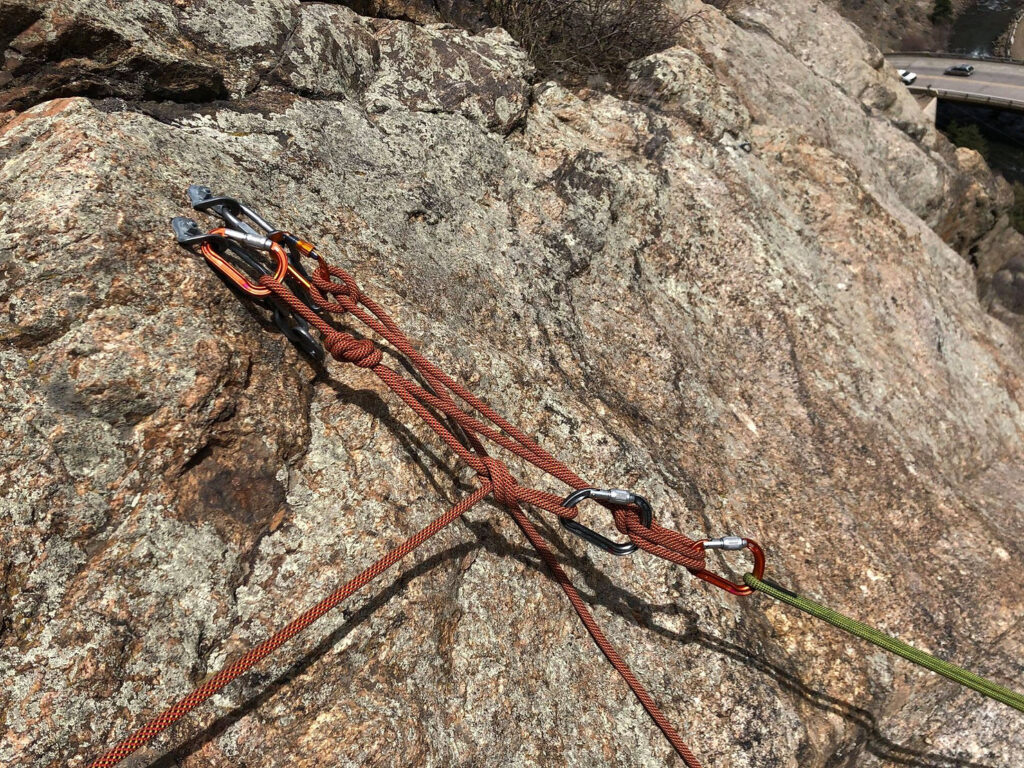
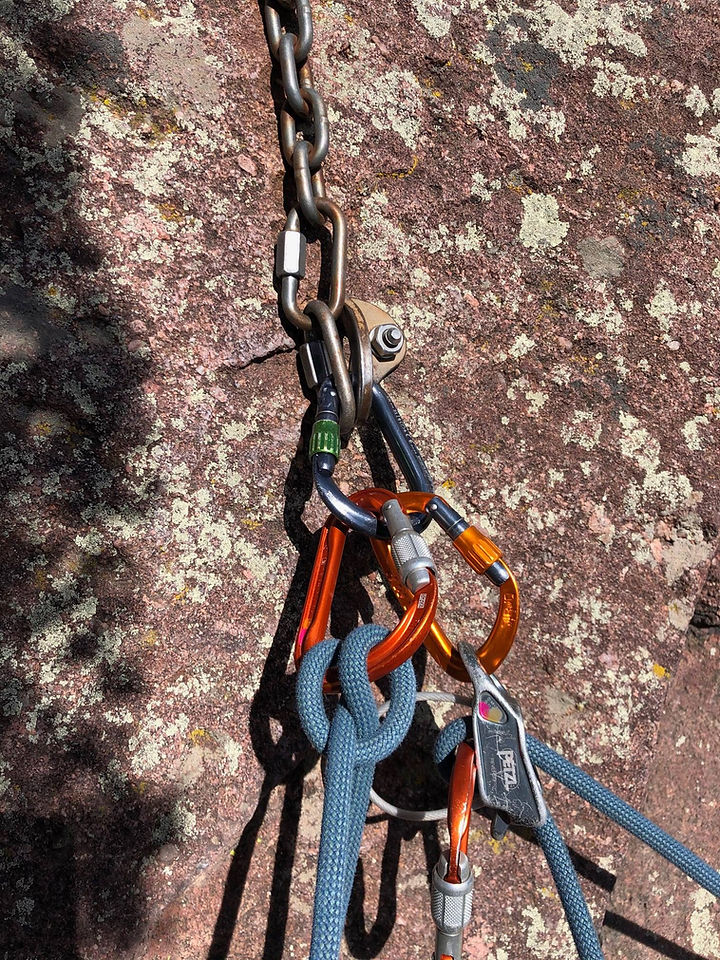
We can do a lot of things wrong throughout a day of climbing, but building strong anchors is not one of them. We also want to strive for simple and efficient anchors. What’s that old saying, “Keep it simple stupid?” I definitely feel like this applies to anchor building, especially when people are newer to the craft. There’s no sense in building the world’s most complex anchor when there are many simpler and more efficient solutions out there. Check out the picture below: what the heck is going on there? This anchor looks like it’s right out of a sci-fi movie! There’s probably a simpler and more efficient way to build an anchor with two bolts!
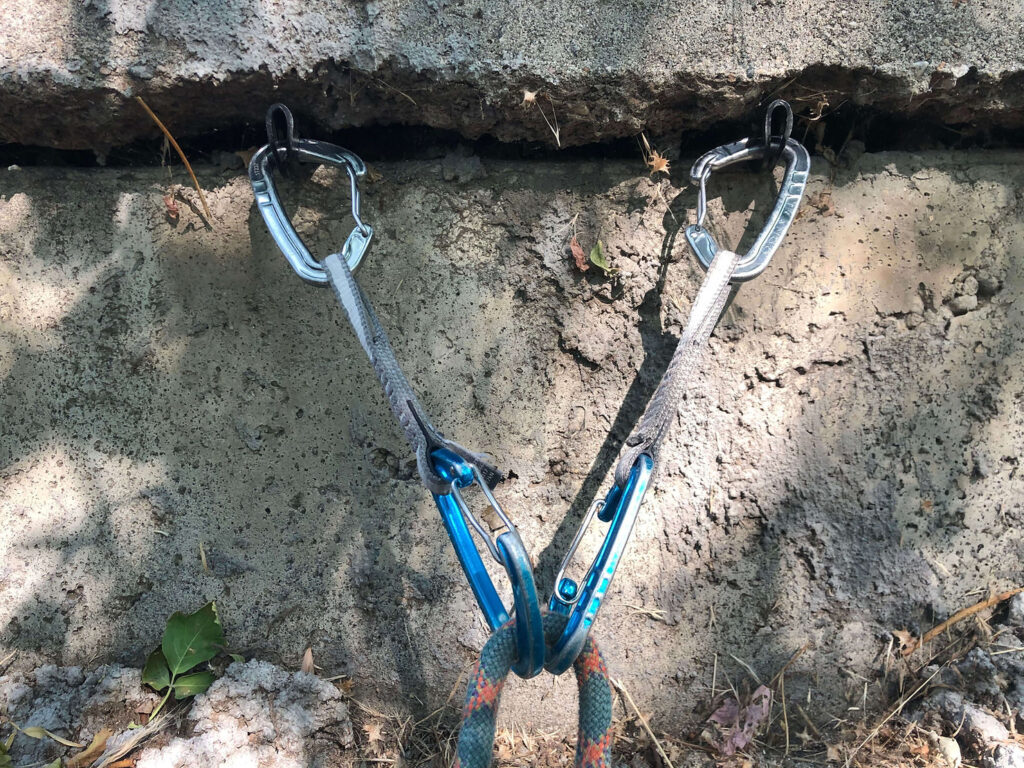
The Two Quickdraw Anchor
Ahh the classic two quickdraw anchor. Simple and effective, this anchor should be a staple in every climbers toolbox. It’s important to note that the carabiners which hold the rope should be opposite and opposed.
Pros:
Cons:
Maybe a better setup could look something like this:
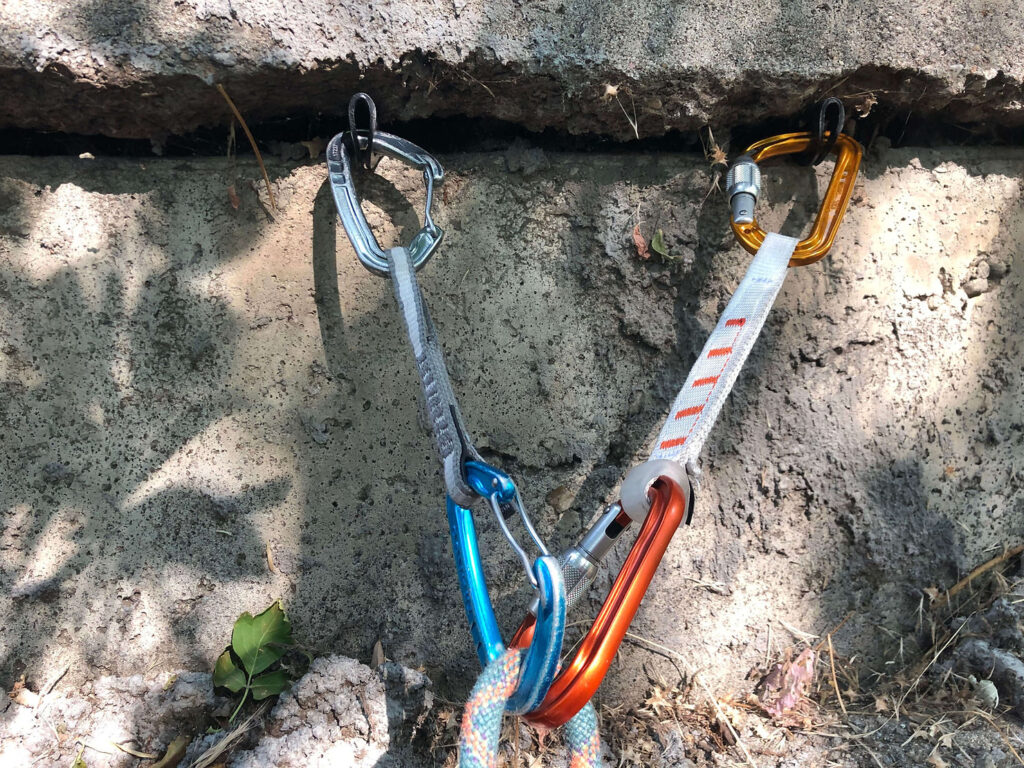
The addition of the locker draw adds a lot of security to this anchor. Some people even use two locker draws instead of regular quickdraws here.
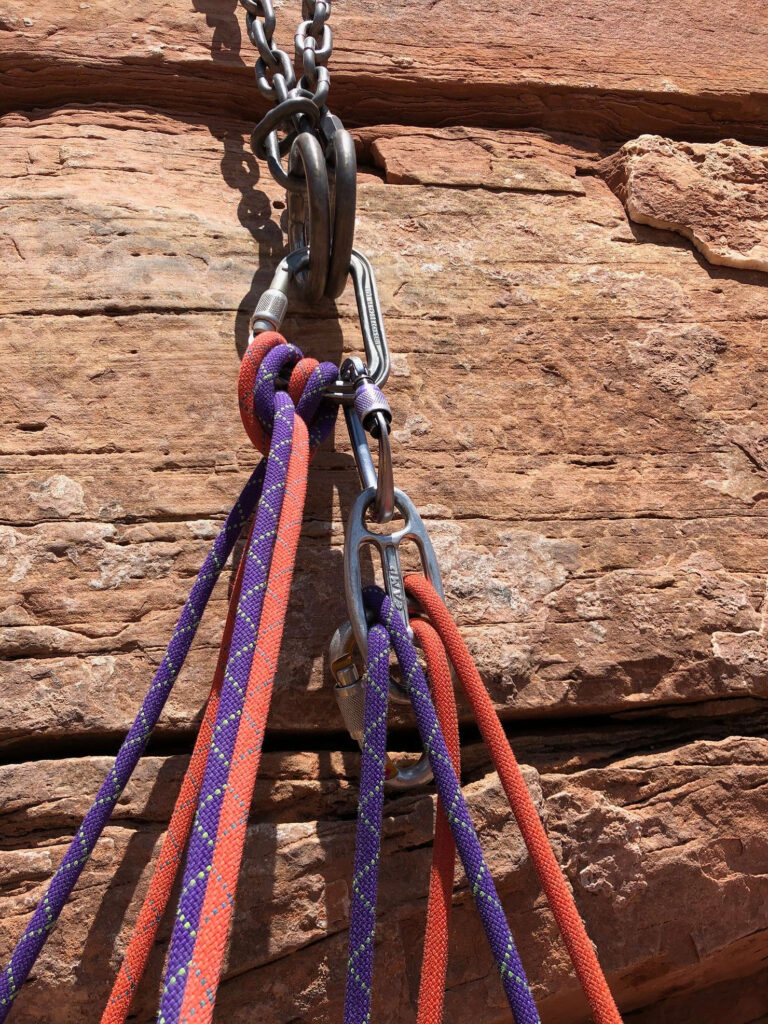
The Locking Master Carabiner
Sometimes, using cordellette or slings brings your masterpoint down to a level that is really tough to work from. Enter the Master Carabiner! This is a perfect anchor configuration for setups where we need to keep our masterpoint high but our anchor components are low down to the ground or ledge we’re standing on. We generally don’t see this style of anchor for single pitch cragging as it’s more often found on longer multipitch routes.
Pros:
Cons:
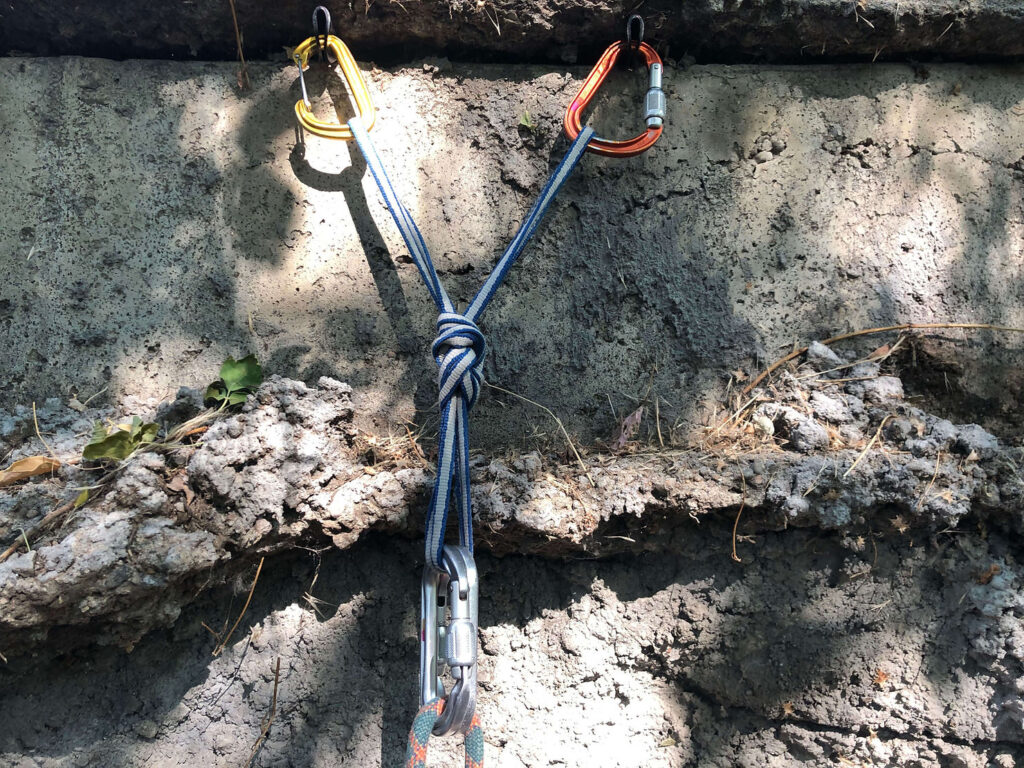
The Two Point Pre-Equalized Anchor
If you’ve ever taken an anchor building class, then you’ve probably seen this one. Heck, even if you’ve spent some time at the local crag or read an anchor building book, I bet you’ve seen a setup like this. This is considered by many to be the classic anchor with two legs, and a redundant masterpoint created by some sort of knot.
Pros:
Cons:
There you have it…three different ways to build an anchor off of a two bolt setup. Remember, every scenario is going to be a little different so we can mix and match techniques to suit the climb we’re on. Biggest takeaway? Unquestionably strong anchors!


Content Copyright © 2026 of Golden Mountain Guides. All rights reserved. | Privacy Policy | Site Map