Ropes are arguably the most valuable piece of a climber’s kit, responsible for keeping you and your partner safe at all times. Pick the right one, take good care of it, and it will take good care of you. In this blog post, we’ll discuss the differences between certain ropes, and things you should keep in mind when selecting the right tool for the job.
Ropes come in all shapes and sizes. They can be anywhere from 6mm to 12mm in diameter, and 100’s of meters long. A typical climbing rope is about 9.5-10mm and 50-70m long. The guide’s choice to do it all is generally a 9mm, 60-meter single rope. Single ropes are usually in that 8.7 to 9.9mm range. Half and Twin ropes, which we’ll discuss later, are 7-9mm in diameter.
Selecting the rope diameter you use depends on its intended purpose. A thinner rope will be lighter overall and will be easier to handle. The downside to a thin rope is that it won’t be quite as durable over time. If you want a tough rope that you won’t mind beating up top roping all day, choose a thicker rope over 10mm in diameter. Hiking 10 miles in a day for an alpine objective? Take a thin rope, like the Beal Opera. Rope gunning to set up a top rope for your friends? Take a robust, thick rope like the Mammut Crag Workhorse. Thinner ropes are considered higher performing and will cost more per meter.
What’s more important than the diameter, is the length. Again, choose the right length of rope for the job. Do your research to know how tall the routes are at your crag, and choose the length accordingly. 34-meter route? Your rope needs to be twice the length! A 60-meter rope would not have you touch the ground, so a 70-meter rope would be required. If you are doing some multipitch climbing, consider your descent, and how you want to pitch things out. If you can make several short pitches happen and walk off the route, you can get by with even just a 40-meter rope. This would help reduce your pack weight and move quickly. But if you’ve got big rappels to make, you’re gonna need that 70-meter rope or even twin/half ropes.
A rope’s rating as a single, half, or twin rope, tells you what rope management system it can be used in. You do not want to climb on a single, twin rope. It is not rated to take a giant fall all by itself like a single rope is. The most popular rope system is simply using a single rope. 2 ropes can be used in half and twin systems, which is a more advanced method used in mountaineering, long alpine routes, or traversing terrain. Some ropes are double-rated or triple-rated, triple meaning they can be used in any style.
Single Ropes are probably the most commonly used ropes in climbing. Coming in a variety of lengths and diameters, most people use a single rope system for all kinds of climbing. One limitation of a single rope is that on long, traversing trad climbs, there can be a lot of rope drag. If you had a series of 60-meter rappels to make, and a single 60-meter rope, you would be out of luck since you can only take advantage of half of the rope’s length. Another disadvantage is that if anything happens to that rope, you can get into trouble.
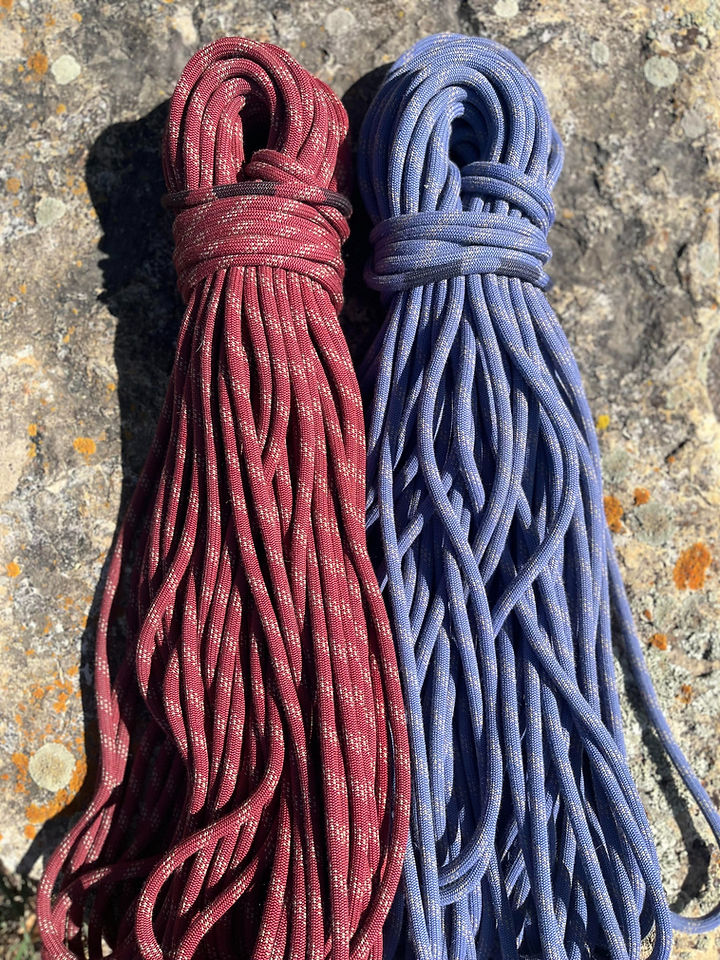
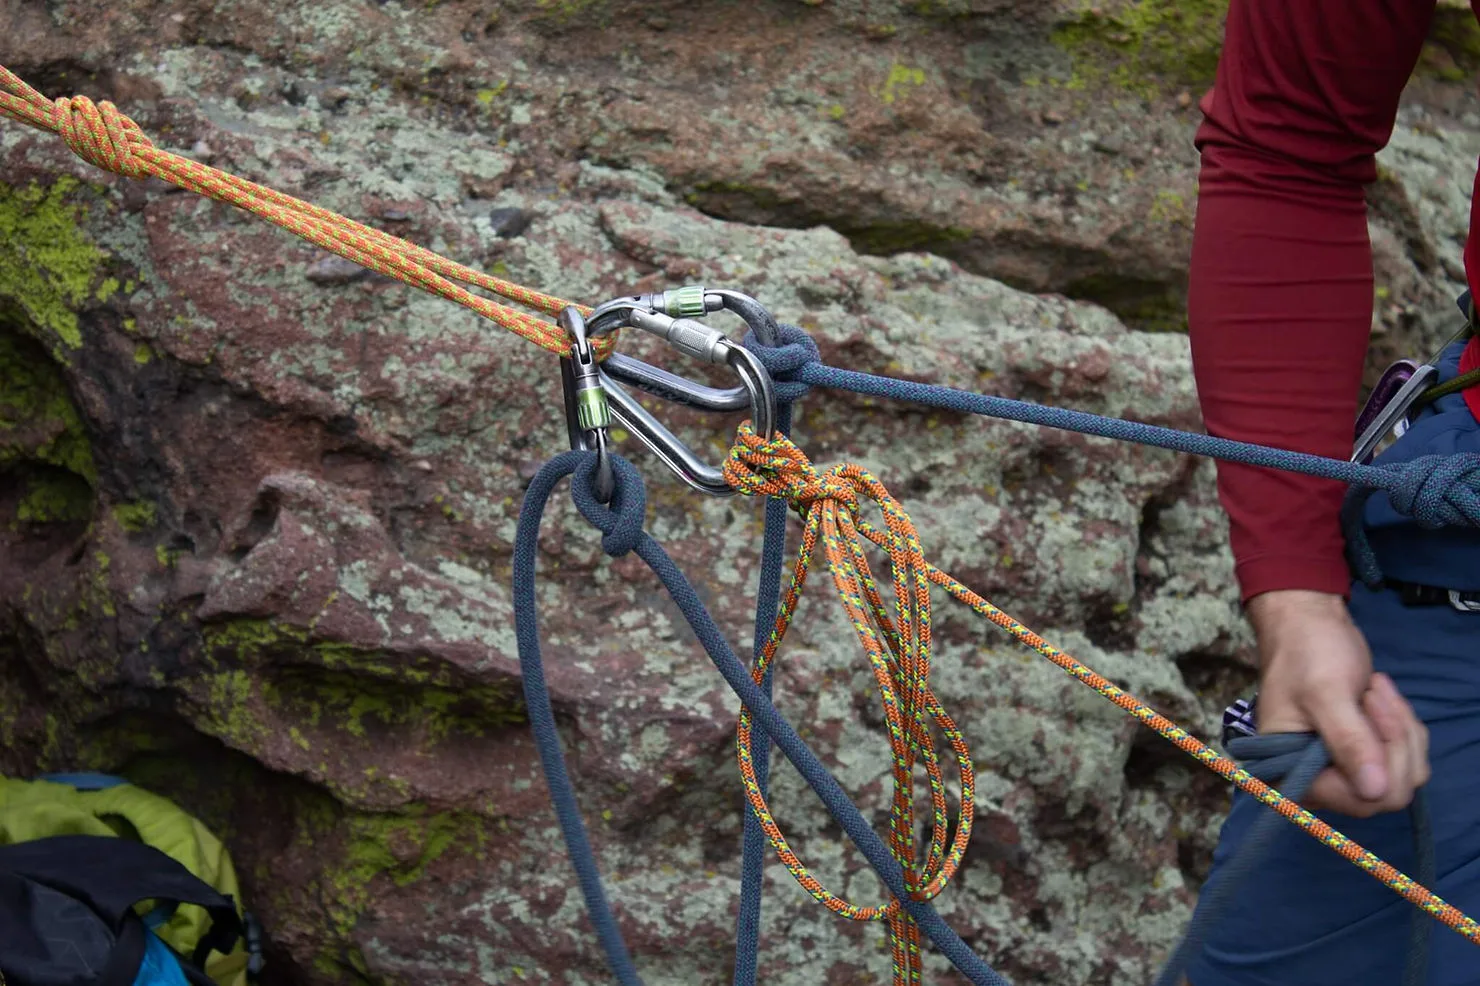
A pair of half/twin ropes
Half Ropes are great to reduce rope drag on traversing routes and enable full-length rappels. There is also additional security in having 2 ropes with you on a long alpine mission. If one rope gets damaged, you have a second. When you climb with half ropes, you climb with 2 ropes, which adds some complexity to the use and management of this system. Each rope is clipped into protection independently from the other. You usually have a “left” and a “right” rope, that you clip into gear on the left or right side of the route. This is how rope drag gets reduced. Half ropes can be heavy since you have two of them, but they are usually smaller in diameter.
Twin Ropes are similar to half ropes, utilizing two ropes to add some security. But twin ropes are not rated the same as half ropes, and each rope needs to be clipped into every piece of protection. You have the same benefit of making longer rappels with twin rope systems.
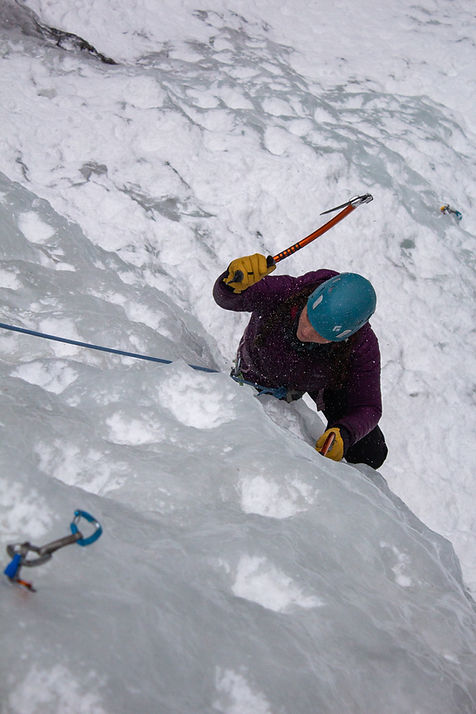
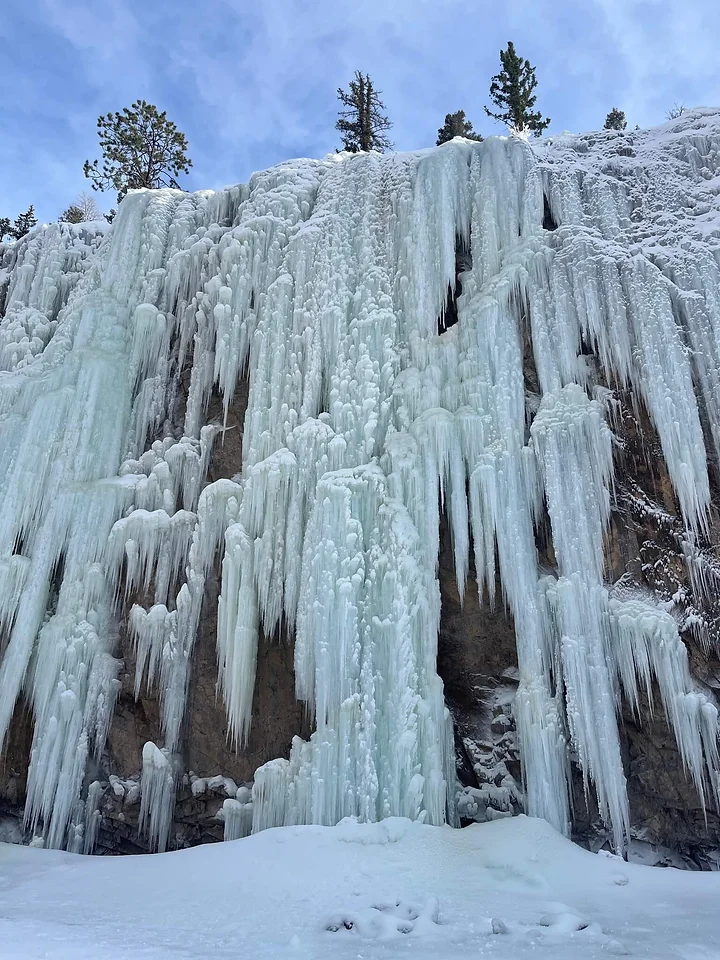
Ice climbers use dry-treated ropes
The majority of ropes you have used or are probably looking at buying, are
non-dry treated ropes. Dry-treated ropes have been specially designed and treated by the manufacturer to prevent them from absorbing water. When these ropes are brand new, they are slick! That slick coating will help reduce rope drag on rock routes and stop the rope from getting soaked ice climbing. Dry ropes are more expensive, as well. Some people prefer the handling of a dry-treated rope, others do not – it just comes down to personal preference. If you are picking out your first rope, a non-treated one is great.

This is a static rope. Can you tell the difference?
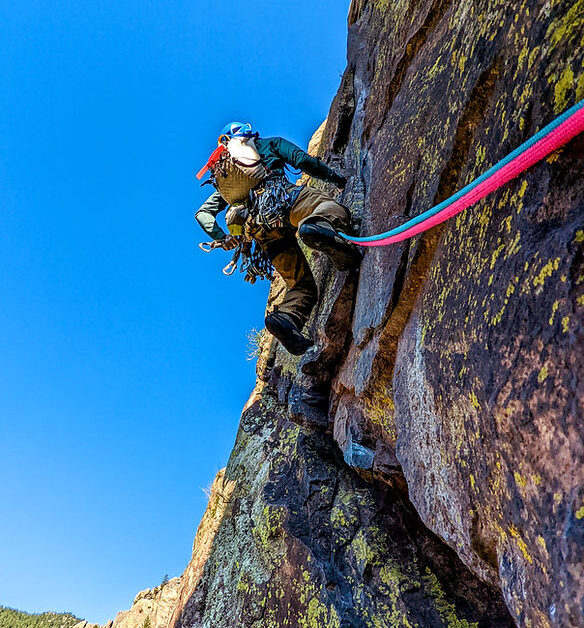
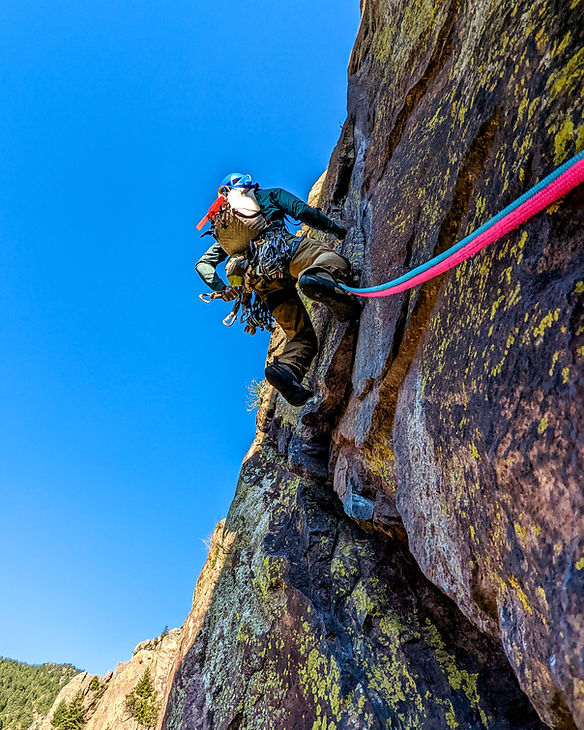
Dynamic ropes elongate under load to
protect the climber during a fall. Usually around 33-40%. If you hit the apex of your fall on a static rope, you would experience a large amount of force all at one time. Dynamic elongation evenly distributes force to the components in a system (you and your gear), avoiding high stress on a single component.
For lead climbing, you will need a dynamic rope. Static ropes are used to build top-rope anchors with natural features, set up tethers for instructor access, top rope soloing, and hauling. Semi-static ropes are sometimes used for top-roping, especially in gyms, where the force on the climber will be low. These ropes reduce the fall distance, removing most of the dynamic elongation. These ropes will last longer than dynamic ropes that get fallen on constantly as well. A static line is an important piece of kit for setting up top-rope anchors.
When selecting a rope, there are some important features to keep in mind. A critical feature to have on your rope is a middle mark. This is a black line that lets you know you are at the center of your rope. This is key when setting up a rappel so you don’t short yourself getting to the next station. When your leader is questing off into the unknown, shout “half!” when you see the middle mark come through your hands. Some ropes also have other indicators or end warning marks, for the same reason.
If your rope does not have a middle mark, or your factory middle mark is fading, companies sell rope markers to remark or add marks to your rope. I am a fan of the Black Diamond Rope Marker because it is cheap and easy to use. Other rope markers might make a longer-lasting impression on the rope, but they can be messy and challenging to find for purchase locally.
For the same reason as finding the middle of the rope, bi-pattern ropes are available. These ropes have 2 different color weaves for each half of the rope, removing the need for a middle mark. Bi-pattern ropes are more expensive, but sure do look cool. If you were guiding a party 2:1 with short pitches, tying into the middle of the rope, and having clients tie into each side with a bi-pattern rope, this would make it very easy to keep the rope systems neat.
There are many ways to coil a rope! An important consideration when coiling your rope is thinking about what you need to use the rope for next. If you want to throw it on top of, inside, or into a backpack is one. Another is what you want to use that rope for next – just laying it out for a single pitch, or dropping it down from above at the middle of the rope. This will change how you might decide to coil and store your rope.
How long a rope lasts all depends on how much you use it, how much dirt gets worn into the sheath over time, and how well you take care of it. Use a rope 3-5 times a week and it might last about a year. Use a rope twice a year, and it could last up to 10 years. Read up on the manufacturer’s recommendations for caring for your rope, and its expected lifespan based on use.
Wash your rope! Daisy chain the entire rope, and toss it in the washing machine. Wash on cold. Commercial rope washes are available, but usually, just water does the trick. Be careful washing a dry-treated rope, over time this will work the dry treatment off. No washing machine? Use a bathtub or large bucket and some dish soap. Take care to rinse the rope, otherwise, you will be left with a soapy residue.
Store your rope in a cool, dry place. There are two schools of thought on exactly how to coil – or not – your rope for long-term storage. If you tightly coil a rope and put it away, sometimes the rope will build a “memory” of the uniform loops you have made. So when you take it out to climb, there are some awkward crimps or rolls in the rope. I have not experienced this issue, however. Because of this, some people prefer to loosely flake theirs in a rope bag, thinking that the non-uniform storage method will prevent this issue from happening.


Content Copyright © 2025 of Golden Mountain Guides. All rights reserved. | Privacy Policy | Site Map