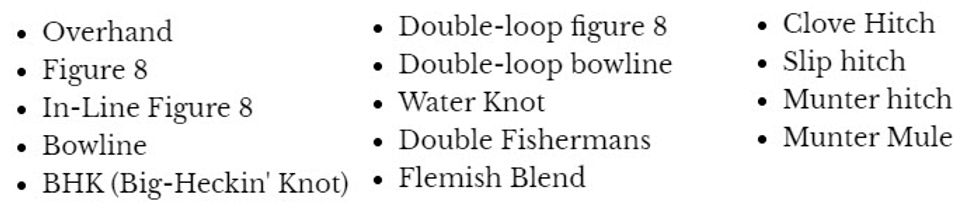
You’ve been climbing all season, practicing knots under your desk at work, reading the textbook, and are finally ready to take your SPI Course and Exam. We get it, there’s a lot of content! Since you’ve been climbing for a while and have the hang of things, you’ll need to focus on some of the finer technical skills and nuance needed for providing the best single pitch instruction possible. In today’s article, we’re going to talk about some of the skills you should have dialed come exam day.
Building anchors and managing rope systems requires a strong working knowledge of a few foundational knots and hitches. These are not too complex, but require practice to deploy on command. Knowing which knots to use in what scenarios, is what takes the most time to develop. Knowing what precise orientation to present knots and hitches in makes the difference in building top-notch systems for your clients.
Rope craft is an art that takes time to develop. It all begins with basic practice. Think back to when you first started tying a figure eight follow through, to tie into your first climbs. Remember how long it took to figure that out? Be patient in mastering your rope craft, practice, and put in the time to develop the muscle memory that makes for the smooth, efficient creation of clean anchor systems. Practice your knots and hitches in order of complexity, as each builds on the next.
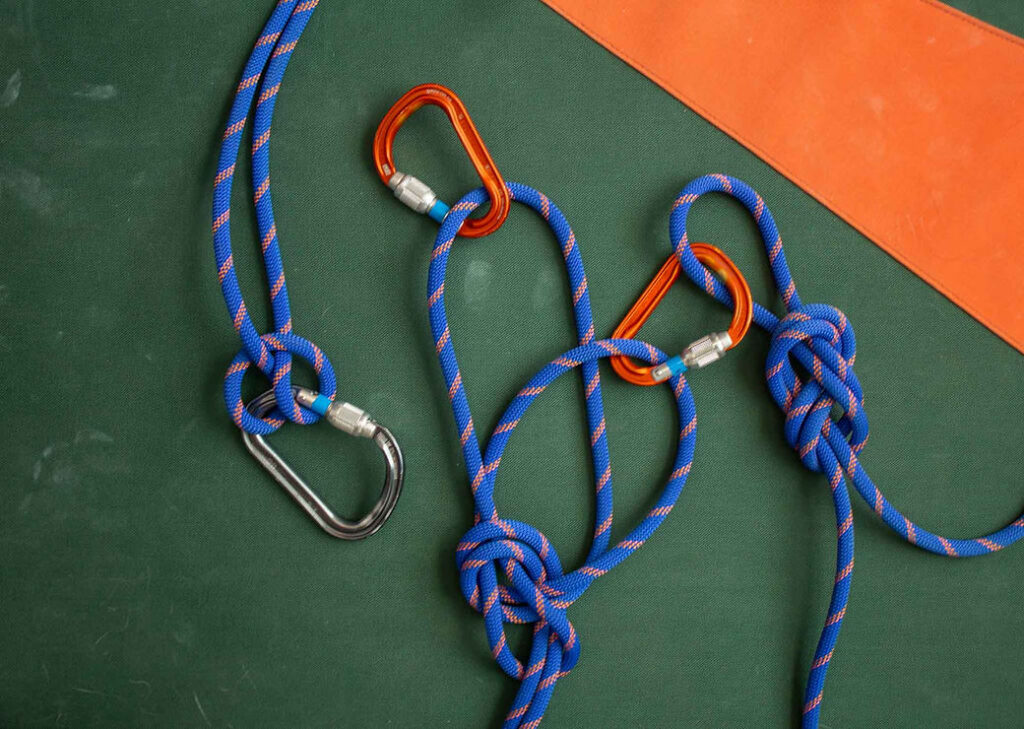
L > R: Clove Hitch, Double Bowline, Figure 8
There are a wide variety of resources available to learn how to tie these knots, and everyone has a different way to tie the same knot! We recommend getting out with a guide to dial in your skills. Youtube and Instagram are great resources to begin your rope-craft journey. The best way to polish your skills, and validate your knowledge, is with a guide. Climbing hard, climbing strong, all comes down to confidence. If you know for certain that your gear placements and systems are top-notch, because you had those skills validated by a certified guide, it will increase your confidence and enable you to climb your best.
Can you make these in your sleep yet?
There are a number of names for this anchor, but the idea here is that you are using a static line to connect multiple “legs” into one masterpoint and equalize them. An anchor “leg” is any natural feature, traditional anchor, or bolt that is incorporated into the system. Let’s start building this anchor by finding the first feature we will use to build our anchor, the first leg. In this example, let’s say we have a single, solid bolt.
Tying the Clove Hitch that forms the Instructor Tether
Now that the first leg of the anchor has been identified, find one end of your climbing rope, and tie a stopper knot in it. Toss enough rope over the edge, and connect it to the first leg with a clove hitch. This is the “Instructor tether” that you will use to move around the site and securely travel close to the cliff edge with. Connect to it with a Grigri. In absence of a Grigri, use a 48″ sewn nylon runner, secured to the line with a klemheist. To go hands-free on the instructor tether, tie an overhand on a bight into the brake strand. This would block the Grigri in case of malfunction.
Next, taking some rope with you, travel down to where you think you want to build the masterpoint. Depending on the position of the cliff edge in comparison to where you want your clients to climb, position your masterpoint appropriately. Let the masterpoint hang just over the cliff edge to avoid any sharp edges that would damage the dynamic rope you will be top roping on. If the edge your static line crosses over is really sharp, protect it with a commercial rope protector or improvise with something else.

Tying a BHK to form a Masterpoint
Tie a BHK (Big heckin knot), and connect two locking carabiners opposite and opposed. Now connect the dynamic rope into the system if you as the guide are scrambling back to the base to climb, or are going to rappel. If you are going to lower clients to the base or teach them to rappel, you will have to deploy the Backside method in order to create a high masterpoint that will appropriately facilitate this. Check out our tutorial on the Backside method.
With the masterpoint set up, time to make the second leg of our anchor. Find another feature to build an anchor on, and complete the V anchor. You want both strands to be equalized, putting an equal load on each leg. Keep the angle here less than 90 degrees, and more like 60 degrees if you can help it. Clove hitches help here, in that they are quick and easy to adjust. They are also easy to un-tie once they’ve been loaded. And that’s pretty much it! This is a fundamental skill in building solid anchors for single-pitch climbing with clients.
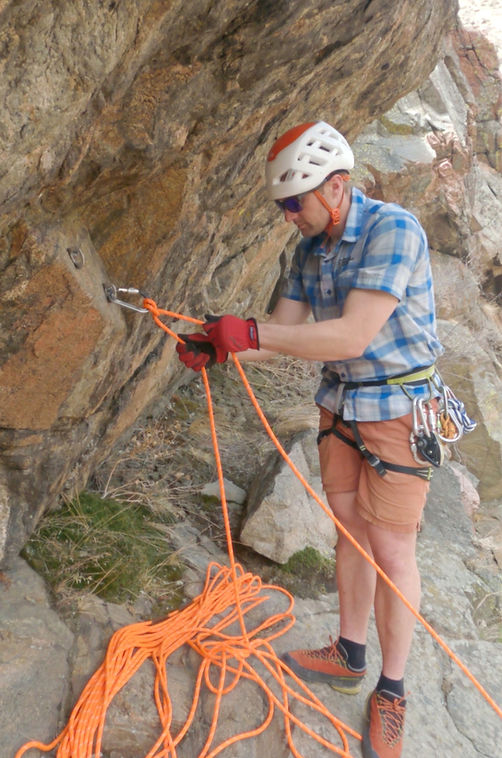
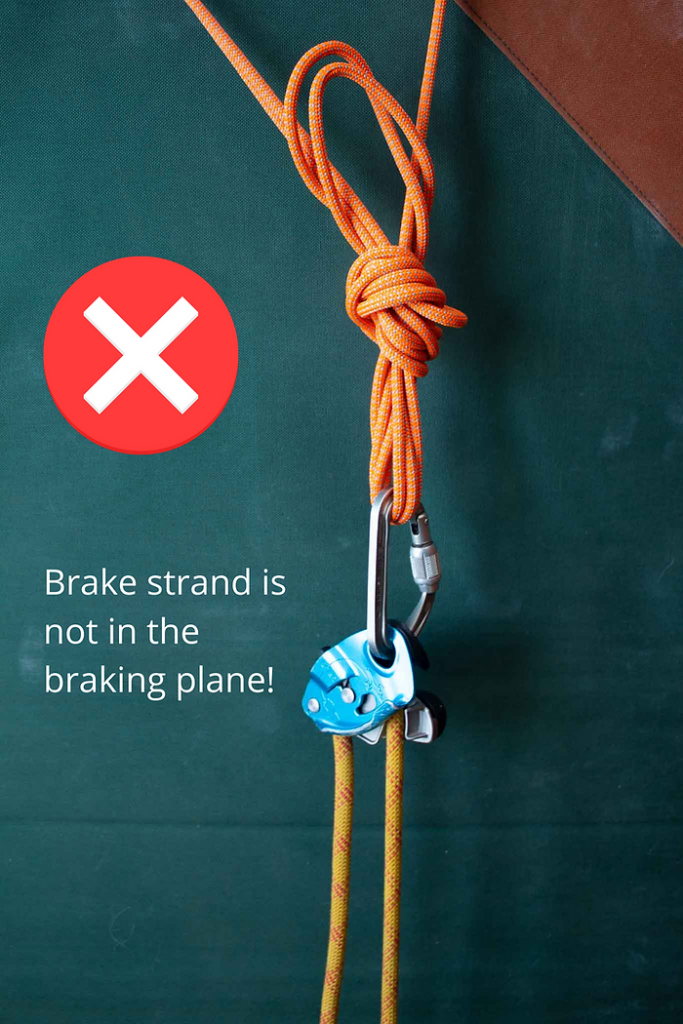
Whether it’s for personal multi-pitch climbing or safely lowering a client to the base, knowing how to lower from your top managed site with a Grigri is a vital skill. There’s a right way and a wrong way, and the key here is that the brake strand must be re-directed so that the proper braking plane of the device can be maintained.
The first action to take before lowering a climber is to close the system and flake the rope at your feet. This ensures a safe, smooth lower.
To properly set this up, first determine the best orientation for your Grigri to sit in, so that the lowering lever can move without being obstructed. Now connect another carabiner, and clip the brake strand through it. Pretty easy! Note that the Grigri does not need a backup since there is a built-in lowering system. Once your client is ready to be lowered, maintain control of the brake strand, and gently pull the lever to begin their descent.
An advantage of the Grigri is that it can be easily transitioned from top-down belaying to lowering. This device is also much easier on your upper body to operate all day. That’s important if you are going to be guiding all the time. It’s also quick and easy to set up a 3 to 1 pulley system in case you have to assist a client through a challenging sequence.
Believe it or not, client care is a major component of passing your SPI Exam. Even if you are proficient in the technical skills required to pass, if your clients only get to climb 2 times during an expensive outing, that’s a major red flag. Say one of your clients experiences a pendulum swing after cruising off route while you weren’t paying attention, another red flag. Even not providing adequate coaching to new climbers can be enough to fail an SPI exam, depending on the examiner. So put some time into developing your instructor skills.
If you are a competent climber who builds textbook anchors in minutes, none of that matters if your clients aren’t having a great time. You must share your vast knowledge of movement and technical systems with others in a way that is easy to comprehend. This way, your clients extract the most value out of the time they spend with you. If they’re having a great time, so will you.
AMGA Single Pitch Instruction is all about one thing: Instruction! Some people are inherently brilliant educators, while others have to put a lot of time and effort into developing their teaching skills. If you are devoted to your craft and an ambassador for the sport of climbing, sharing that passion with others will come naturally.
Take time to get to know your clients, and ask how they learn best. Some people can learn simply by listening to your instruction. Others will hone in on visually inspecting the gear you use, knots you tie, and systems you build. And then you will find people who can only learn by doing! Identify what type of student you’re teaching early, and you can provide the most value for that person. And that’s what it’s all about, right?
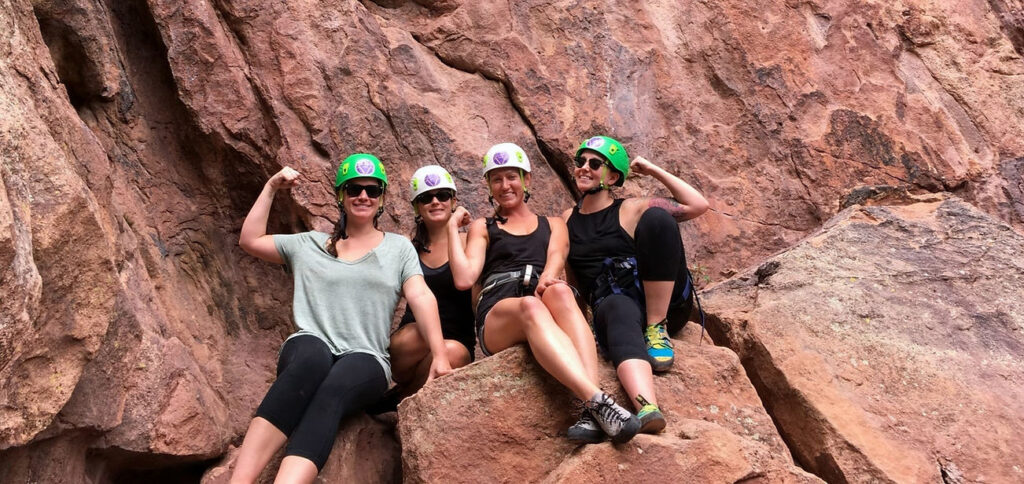
Happy clients make happy guides!

Content Copyright © 2024 of Golden Mountain Guides. All rights reserved. | Privacy Policy | Site Map